Difference between revisions of "CSC270 Tektronix Scope Lab"
(Created page with "=The Setup= * You need one of the HP signal generator boards. <br /> <center>500px</center> <br /> * Get a couple of probes from the equip...") |
(→Capturing 2 Waveforms) |
||
| Line 72: | Line 72: | ||
;Question | ;Question | ||
:What is the frequency of Waveform 2 (in blue)? | :What is the frequency of Waveform 2 (in blue)? | ||
| + | |||
| + | =Exercise= | ||
| + | |||
| + | * Get proficient at using the scope and redo the experiments above with two new waveforms: Waveforms 2 and 5. | ||
| + | * In particular, learn how to quickly | ||
| + | ** measure the frequency | ||
| + | ** measure the time difference between two points | ||
| + | ** synchronize the two waveforms, so that you have a clear image of both, without overlapping parts | ||
| + | ** capture the image to your USB stick. | ||
Revision as of 15:09, 18 February 2011
Contents
The Setup
- You need one of the HP signal generator boards.

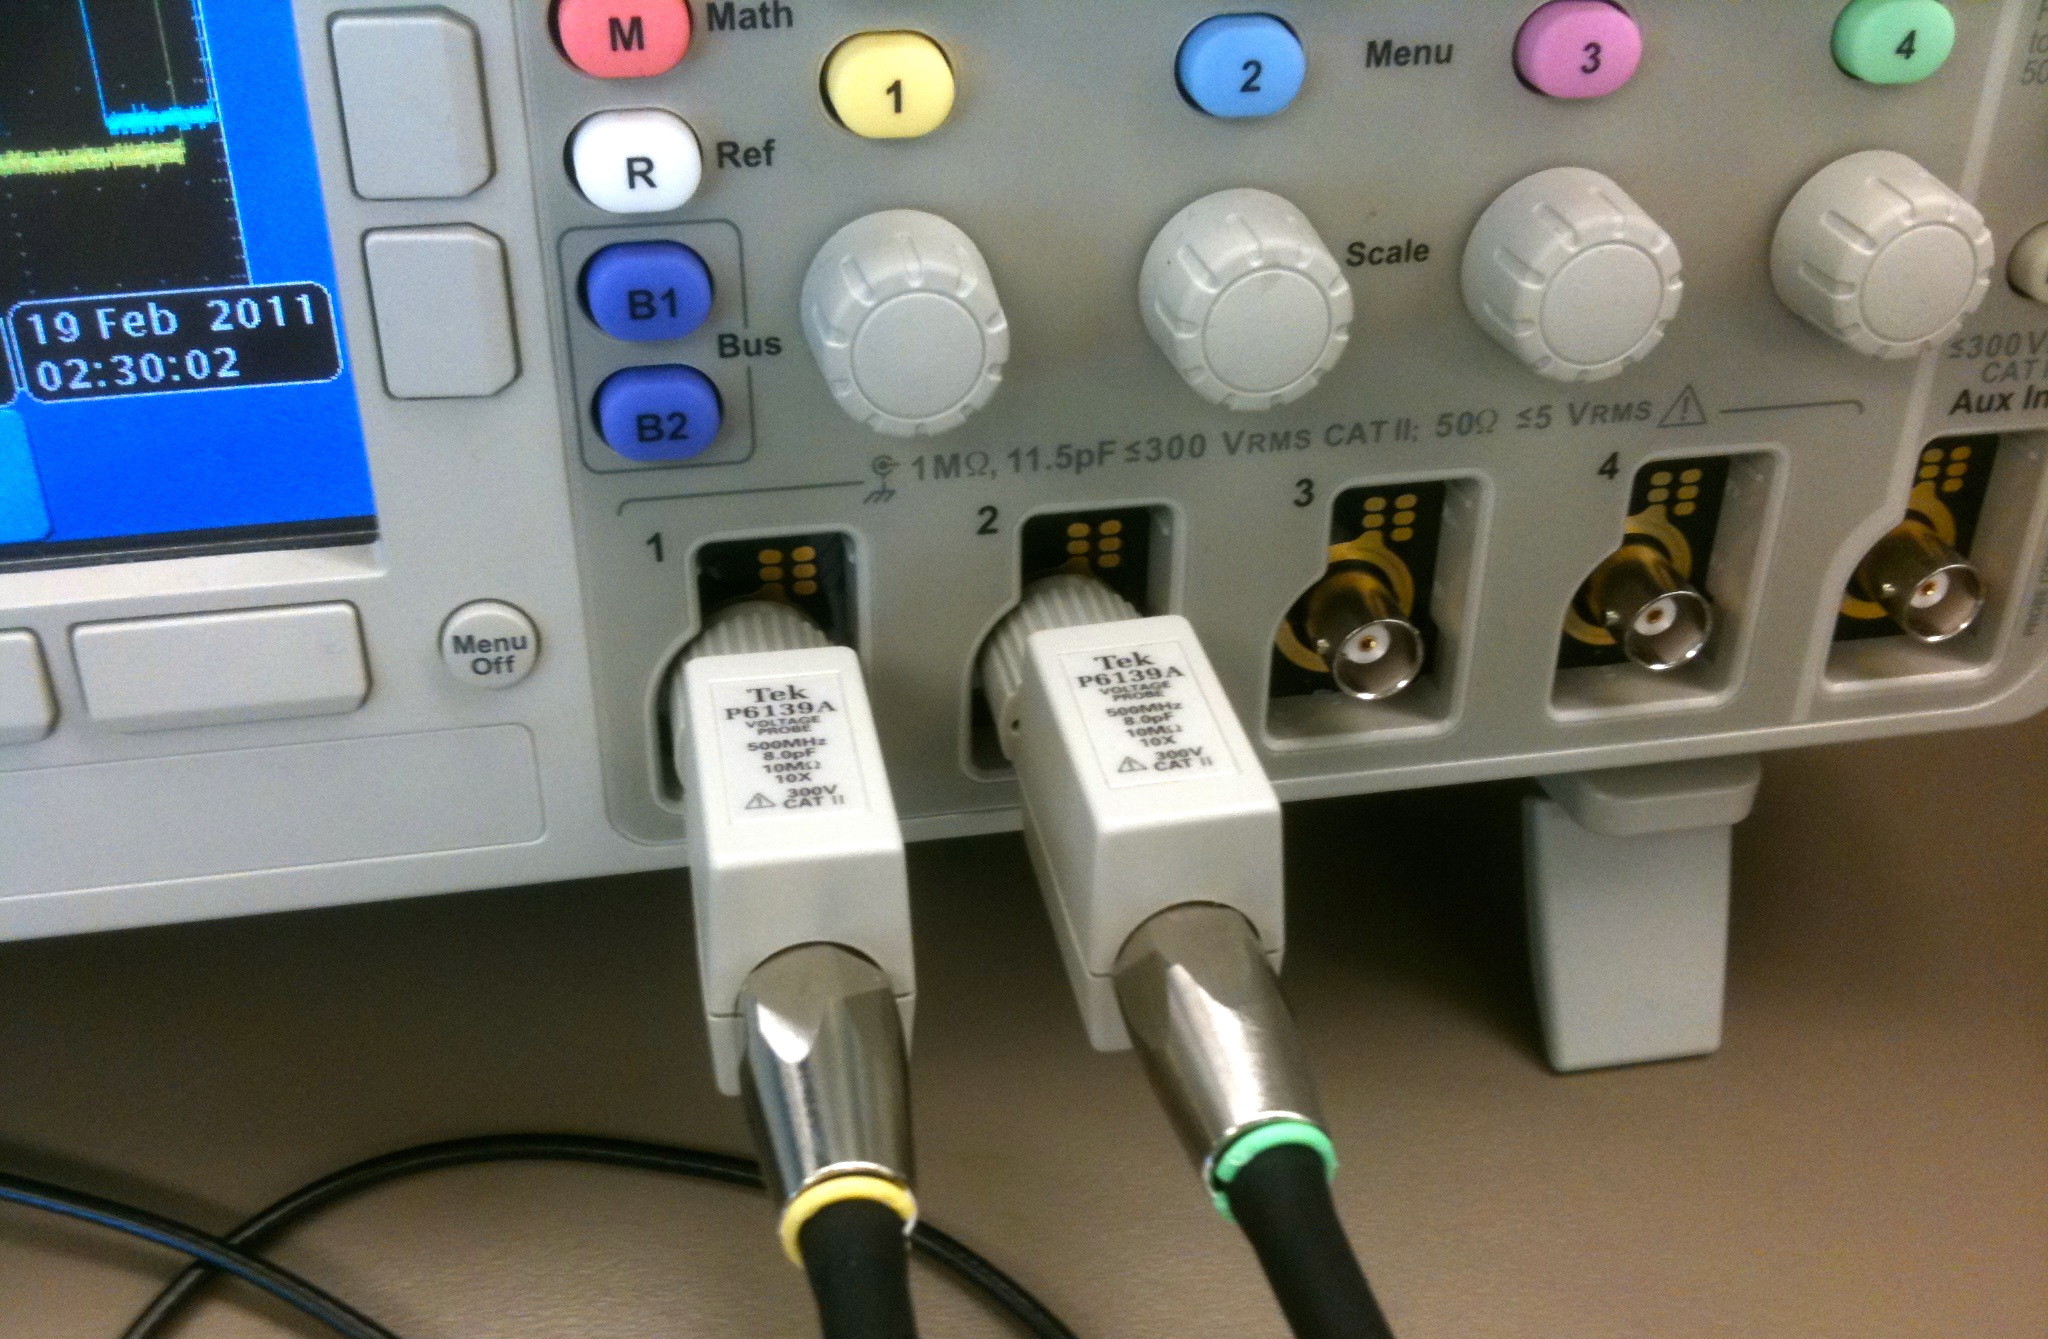
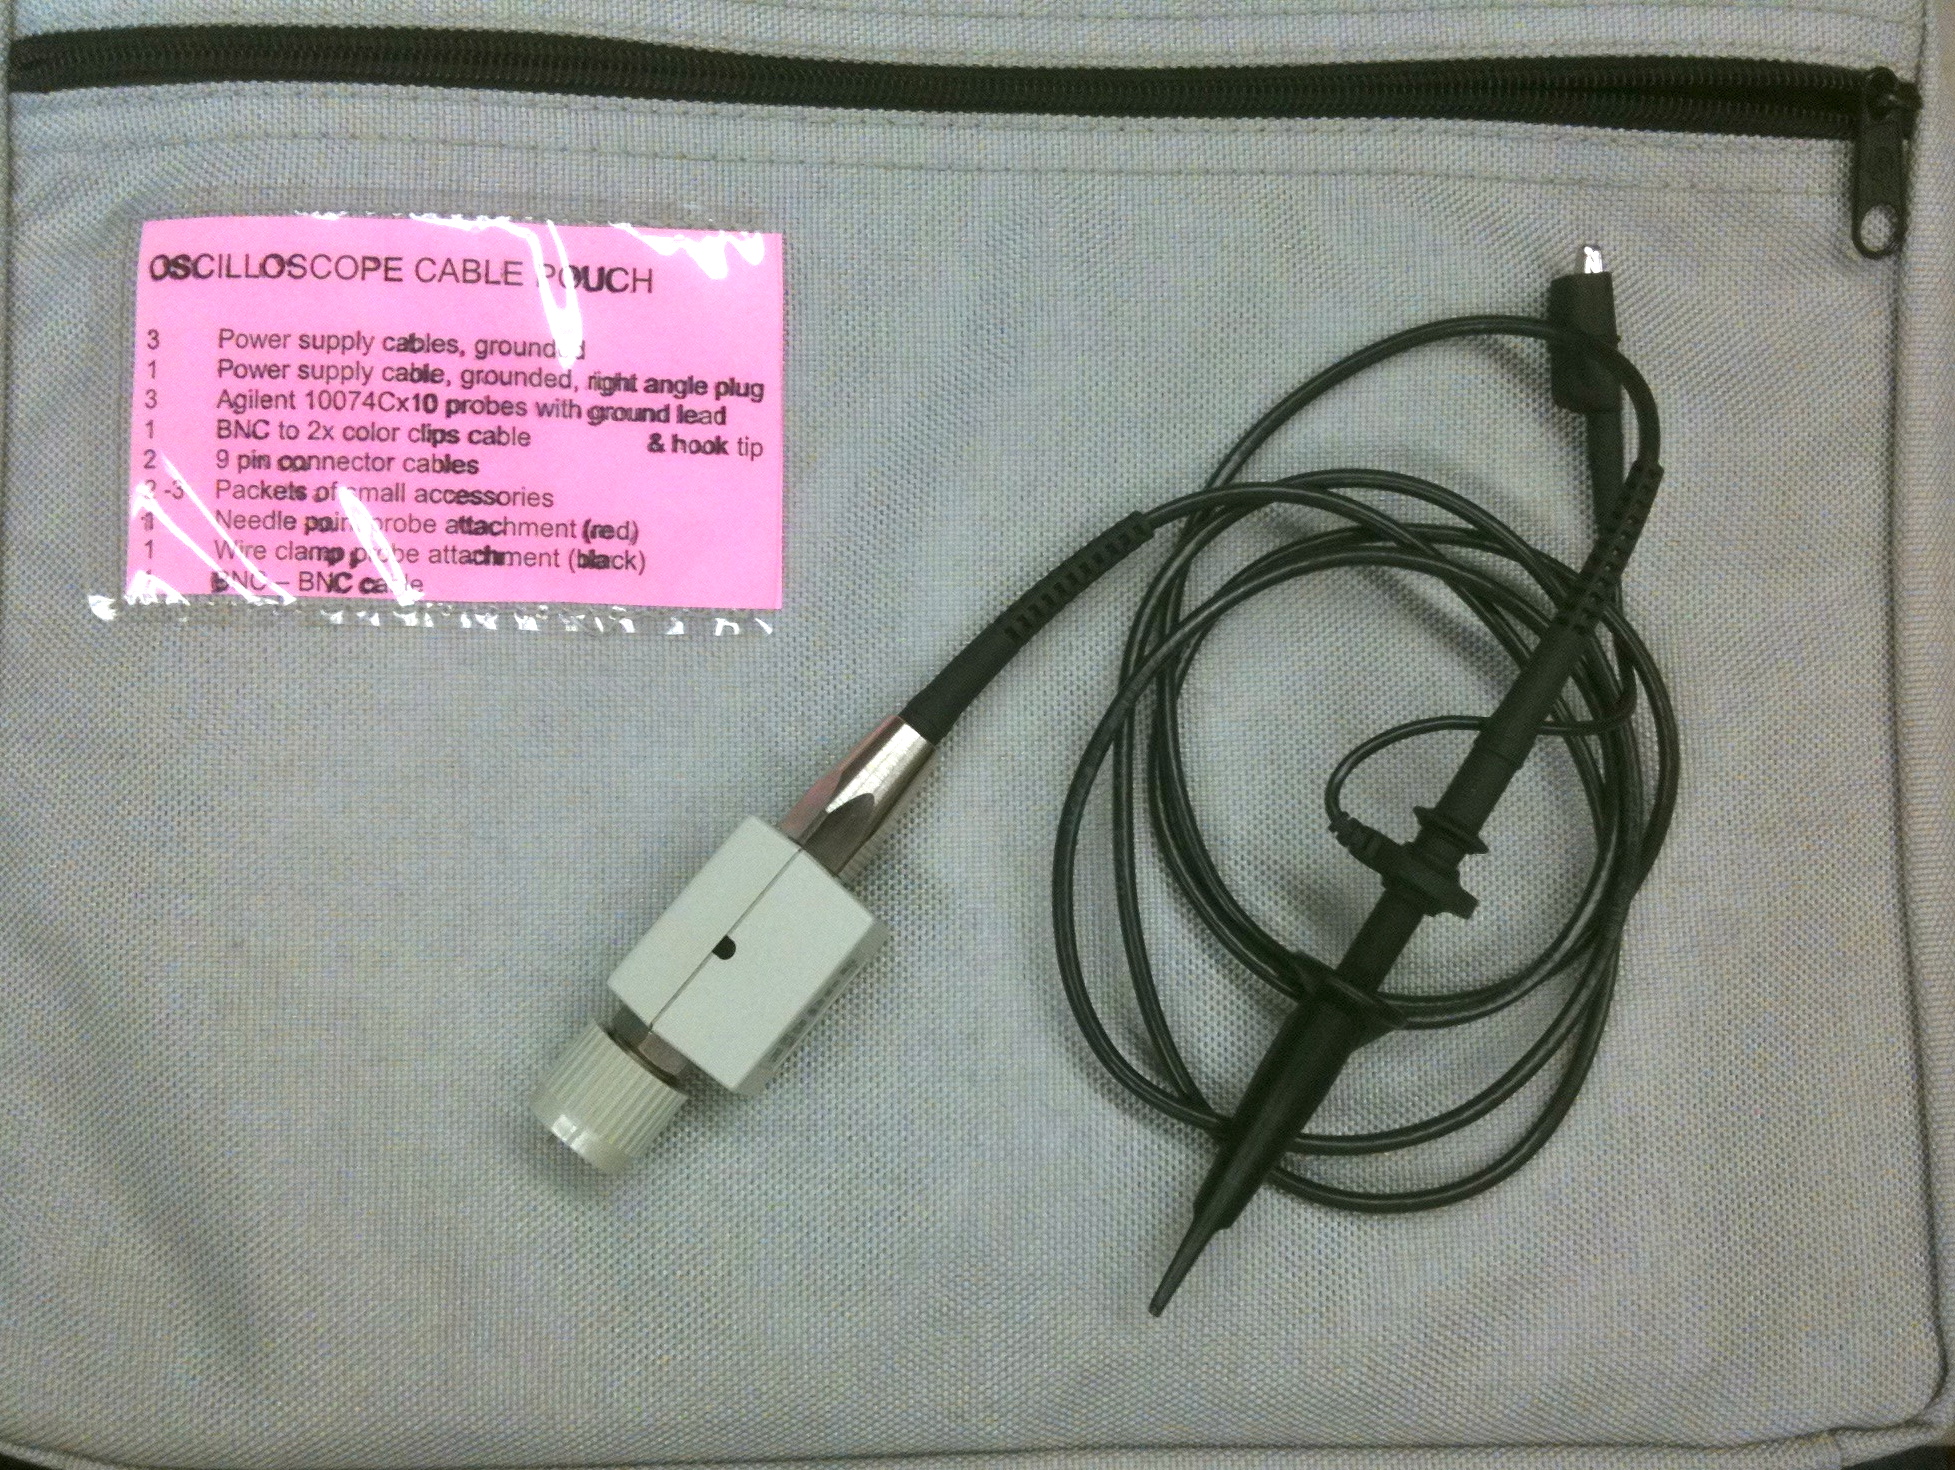
- Get a couple of probes from the equipment pouch, and connect them to the 1 and 2 inputs of the scope.
- Use colored rings to mark the probes

- Don't forget to connect your scope's AC cord!
Capturing one waveform
- Turn on the scope (bottom left button on face).
- Turn on the board (make sure the battery is fully engaged in its connector.
- Connect Probe 1 to TP 1, and ground it, i.e. connect the alligator clip to the GND connector on the board.
- Press AUTOSET (black button, middle right of face)
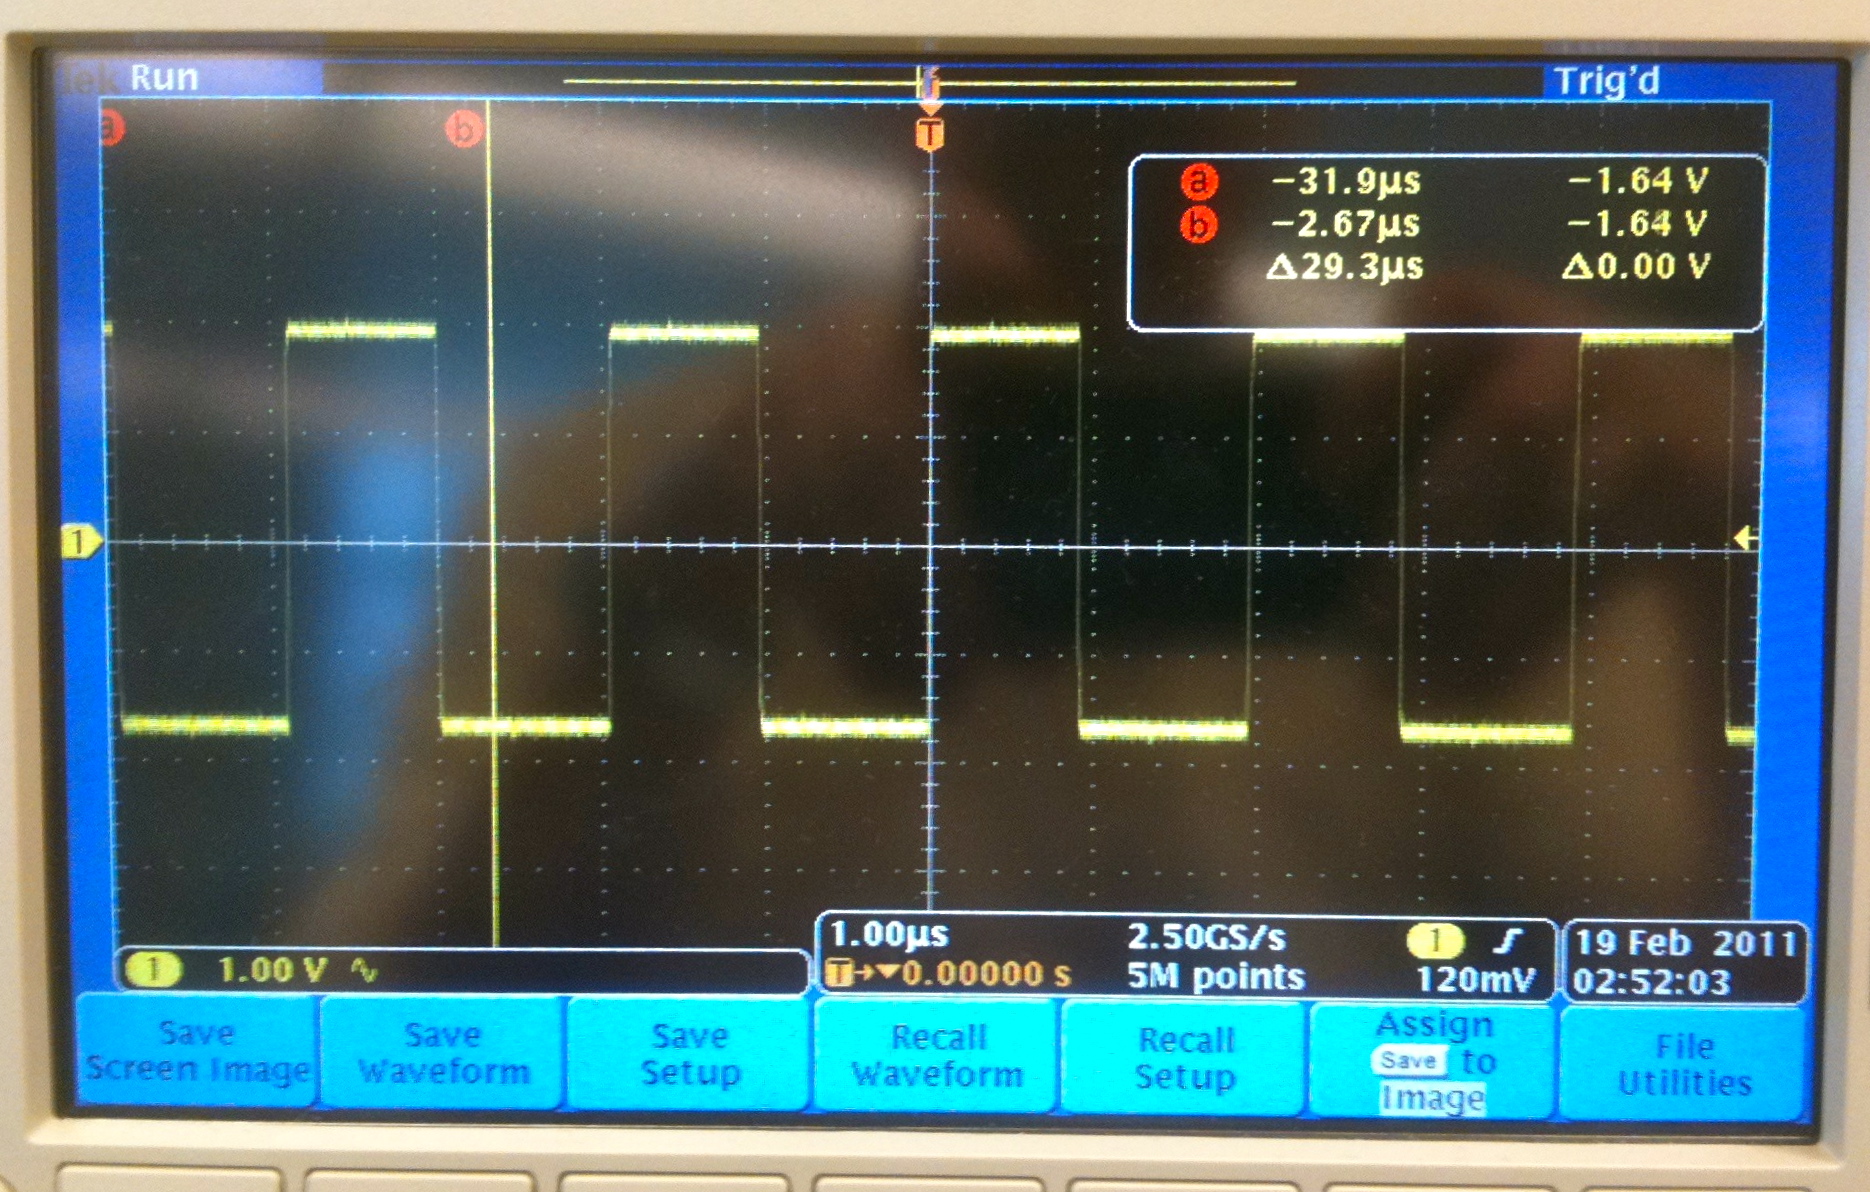
- You should get your first waveform, which is referred to as a square wave.

- Move the waveform up and down using the two buttons around the yellow 1 button
- Move the waveform left and right using the large pan button (top middle of the face).
- Scale the waveform and magnify or reduce it with the smaller zoom button, around the pan button.
Measuring the waveform
- The scope has two horizontal cursors you can move around, as well as two vertical cursors that allow you to measure time differences (horizontally) and voltages (vertically).
- The cursors are turned On/Off by the small Cursors button (top left of the face).
- Question
- What is the length of one period?
Time Measurements
- Move the 2 vertical cursors to measure a full period of the signal. Report the time you measure.
- Click on Measure (center top), which will bring in a menu at the bottom of the screen.
- Click on Configure Cursors and set the cursor mode to display Hz instead of seconds. Click on Configure Cursors one more time to remove the menus from the screen.
- Question
- What is the frequency of the signal you have captured?
Voltage Measurements
- Click on Cursors another time to control both horizontal and vertical cursors
- Use the Select button to switch between horizontal and vertical cursors
- Use the Multipurpose a and Multipurpose b buttons to move the cursors.
- Question
- What is the amplitude of the waveform in Volts?
- Question
- Why, do you think, isn't it 5 Volts, since the power supply of TTL circuits (e.g. 74LS00) is 5 Volts?
Capturing 2 Waveforms
- Connect Probe 2 to Test Point 3
- Autoset
- Press on 2 to bring Waveform 2 on the screen.
- Notice that Waveform 1 (yellow) appears very clearly, but Waveform 2 does not.
- This is because Waveform 1 is faster than Waveform 2, and the scope by default synchronizes itself to the signal on Probe 1.
- To get a better picture of what is going on, we need to take snapshots of the waveforms with the single button, while playing with the Scale button.
- Go ahead, change the scale a bit and press Single. Repeat a few times until you feel you have captured the repeating nature of both waveforms.
- Question
- What is the frequency of Waveform 2 (in blue)?
Exercise
- Get proficient at using the scope and redo the experiments above with two new waveforms: Waveforms 2 and 5.
- In particular, learn how to quickly
- measure the frequency
- measure the time difference between two points
- synchronize the two waveforms, so that you have a clear image of both, without overlapping parts
- capture the image to your USB stick.