Difference between revisions of "XGrid Tutorial Part 1: Monte Carlo"
(→If you have a Mac) |
|||
| Line 5: | Line 5: | ||
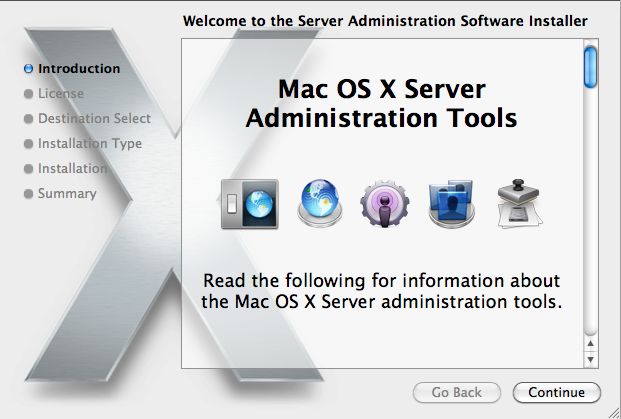
* Download and install package for Mac OS X 10.6 from [http://www.apple.com/downloads/macosx/apple/application_updates/serveradmintools106.html Apple] | * Download and install package for Mac OS X 10.6 from [http://www.apple.com/downloads/macosx/apple/application_updates/serveradmintools106.html Apple] | ||
| + | * Install | ||
| + | * Launch | ||
| + | <br /> | ||
| + | <br /> | ||
| + | <br /> | ||
| + | <br /> | ||
| + | <br /> | ||
| + | <br /> | ||
==Connecting to XGridMac== | ==Connecting to XGridMac== | ||
| + | [[Image:XgridLogo.png | right | 100px]] | ||
| + | * Locate the '''Server''' folder in your applications, and in it the XGrid icon | ||
| + | * Open it | ||
| + | * Click '''+''' to add a new a new controller. | ||
| + | * Enter '''xgridmac.xxxxxx.xxx''' and the password given to you in class. | ||
| + | [[Image:XgridControllerWindow.png | right | 200px]] | ||
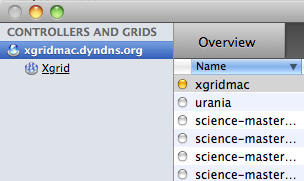
| + | * Observe that you should have access to a collection of Macs around the building | ||
| + | <br /> | ||
| + | <br /> | ||
| + | <br /> | ||
| + | <br /> | ||
| + | <br /> | ||
| + | <br /> | ||
Revision as of 14:11, 15 February 2010
If you have a Mac
Install Apple Admin Tool
- Download and install package for Mac OS X 10.6 from Apple
- Install
- Launch
Connecting to XGridMac
- Locate the Server folder in your applications, and in it the XGrid icon
- Open it
- Click + to add a new a new controller.
- Enter xgridmac.xxxxxx.xxx and the password given to you in class.
- Observe that you should have access to a collection of Macs around the building


