Tutorial: Assembly Language with the Raspberry Pi
--D. Thiebaut (talk) 08:19, 3 July 2015 (EDT)
Work in progress... I'm putting this together as you're reading this... Stay tuned for a more polished tutorial. This is a quick introduction to writing assembly language programs for the Pi.
You can find more tutorials here:
Setup
- Please refer to this page for information on how to set your system up. I'm using a Mac connected to the Pi via wifi, and ssh-ing to the it in a Terminal window.
First Program
- This example is taken from thinkingeek.com's tutorial on assembly on the Pi:
/* first.s
   from thinkingeek.com
   http://thinkingeek.com/2013/01/09/arm-assembler-raspberry-pi-chapter-1/
   Defines a main function that returns 2 as an exit code.

*/

.global main    /* 'main' must be visible by the C compiler. */

.func main      /* declare 'main' as a function              */
main:
    mov r0, #2       /* load immediate value 2 into Register r0 */
    bx lr            /* return 2 to Operating Sytem             */
Create the program
Note that all the commands below must be run on the Raspberry Pi, either directly, if you have connected a keyboard and video monitor to it, or remotely, via ssh and an ethernet cable or a Wifi link.
- ssh to the Pi using the Terminal Window. Refer to this page for how to do this.
- Use your favorite editor on the Pi (mine is emacs), create a file called first.s and enter this code. If you are interested in bypassing the editor, simply type this:
cat > first.s
- and paste the code above. Then press ENTER, Control-D, ENTER, and this should create the file for you.
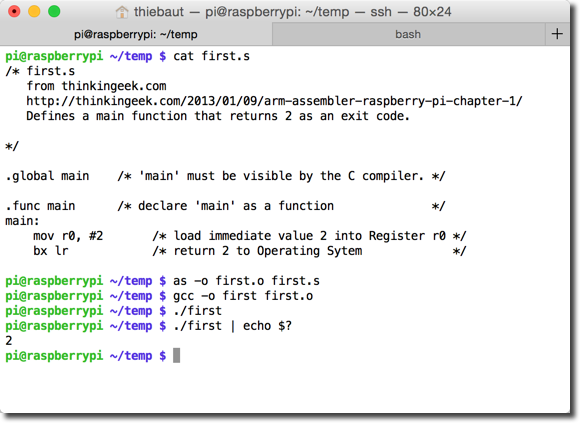
- To verify that the file is created, type this:
cat first.s
- and you should see the contents of the file.

Assemble, Compile, and Run!
- Assemble the code to create an object file:
as