CSC270 Tektronix Scope Lab
--D. Thiebaut 18:15, 20 February 2011 (EST)
This lab is an introduction to the use of the Tektronix MSO3000/DPO3000 Oscilloscope.
Contents
Reference Material
- You can find annotated copies of the manual onJudy Cardell's site.
- The original manual of the scope can be found here. The good part starts on Page 29!
The Setup
- You need one of the HP signal generator boards.
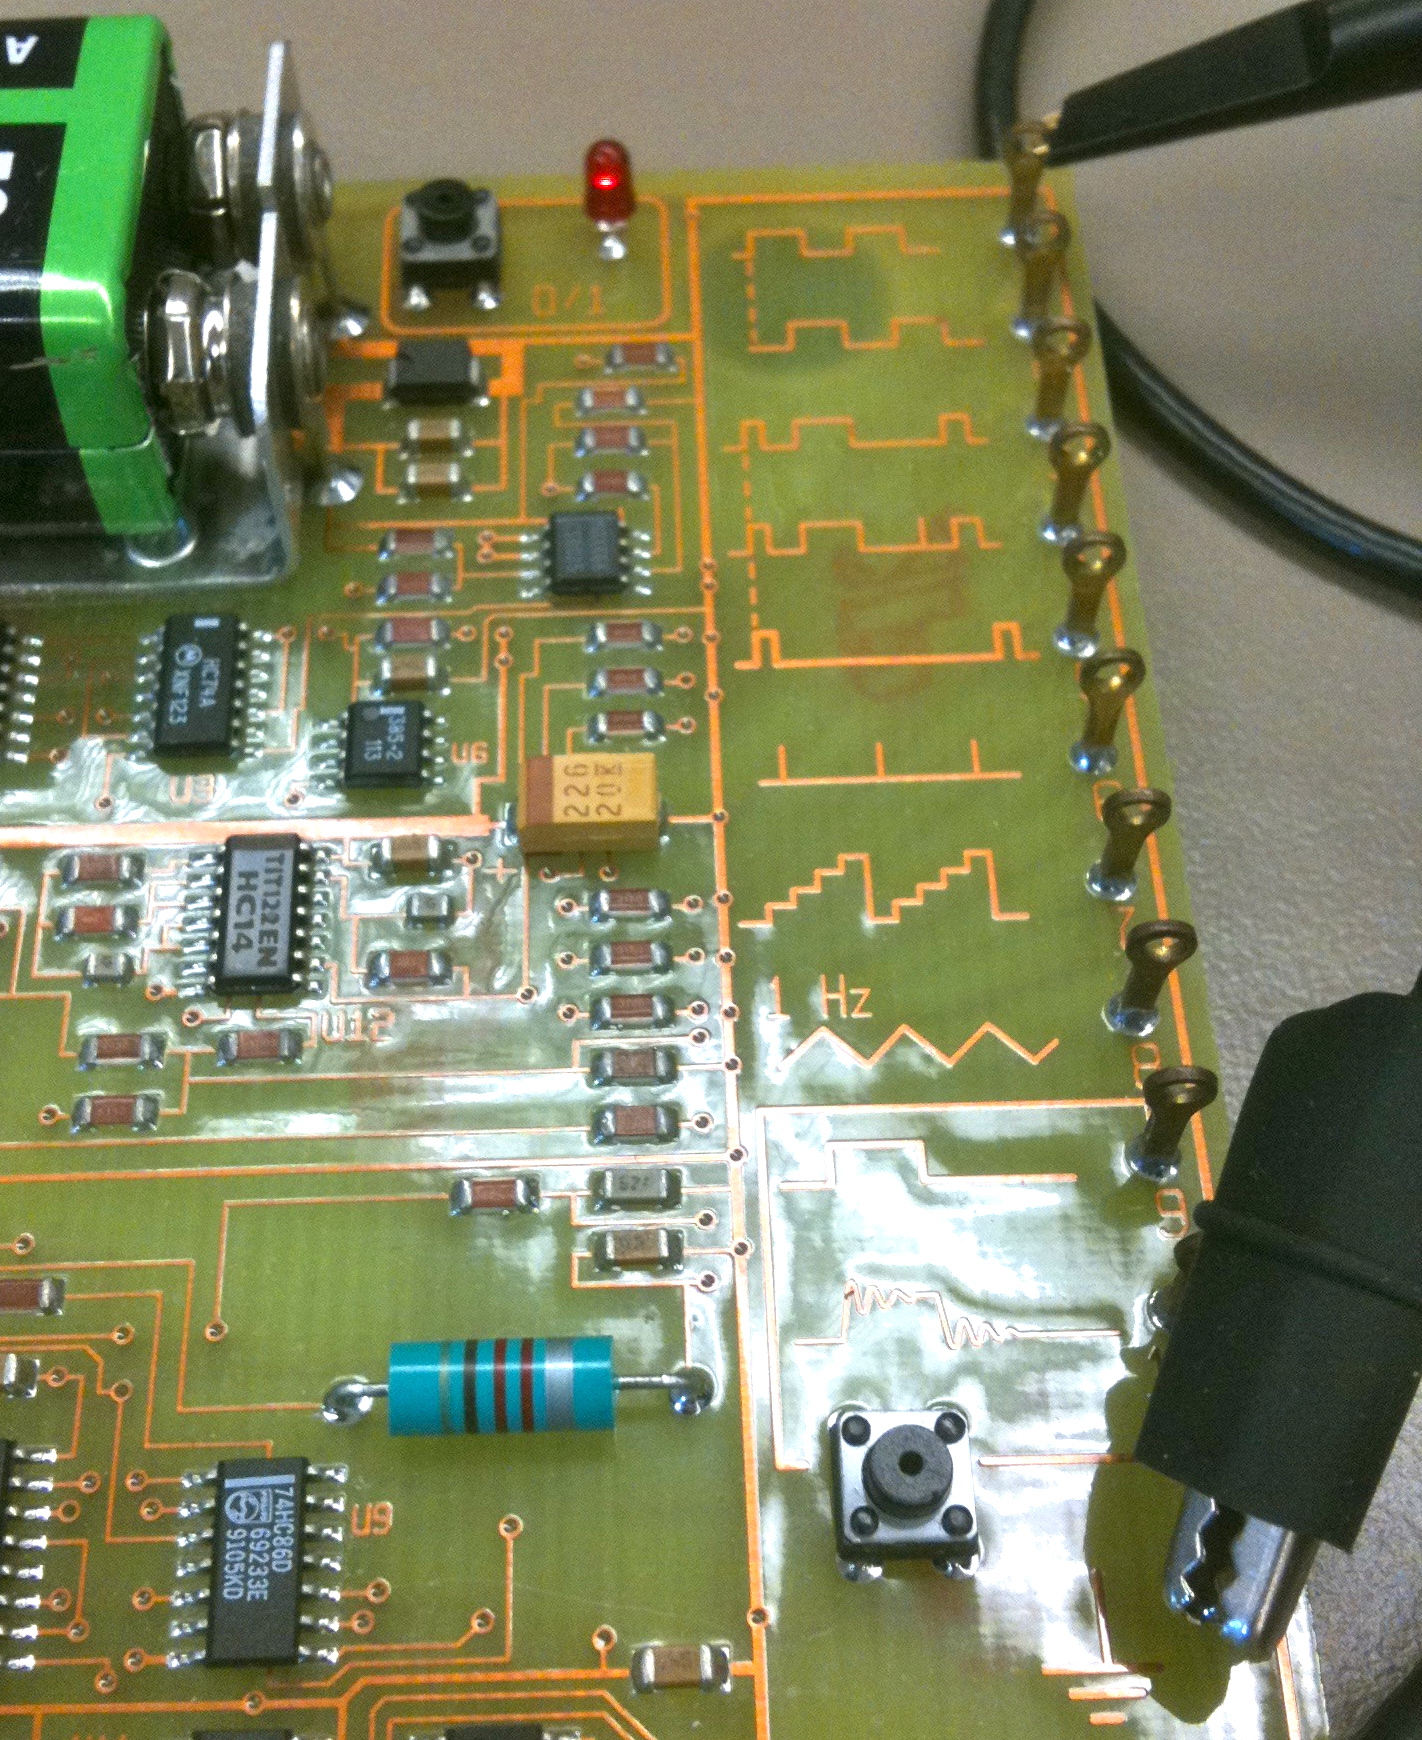
- Get a couple of probes from the equipment pouch, and connect them to the 1 and 2 inputs of the scope.
- Use colored rings to mark the probes
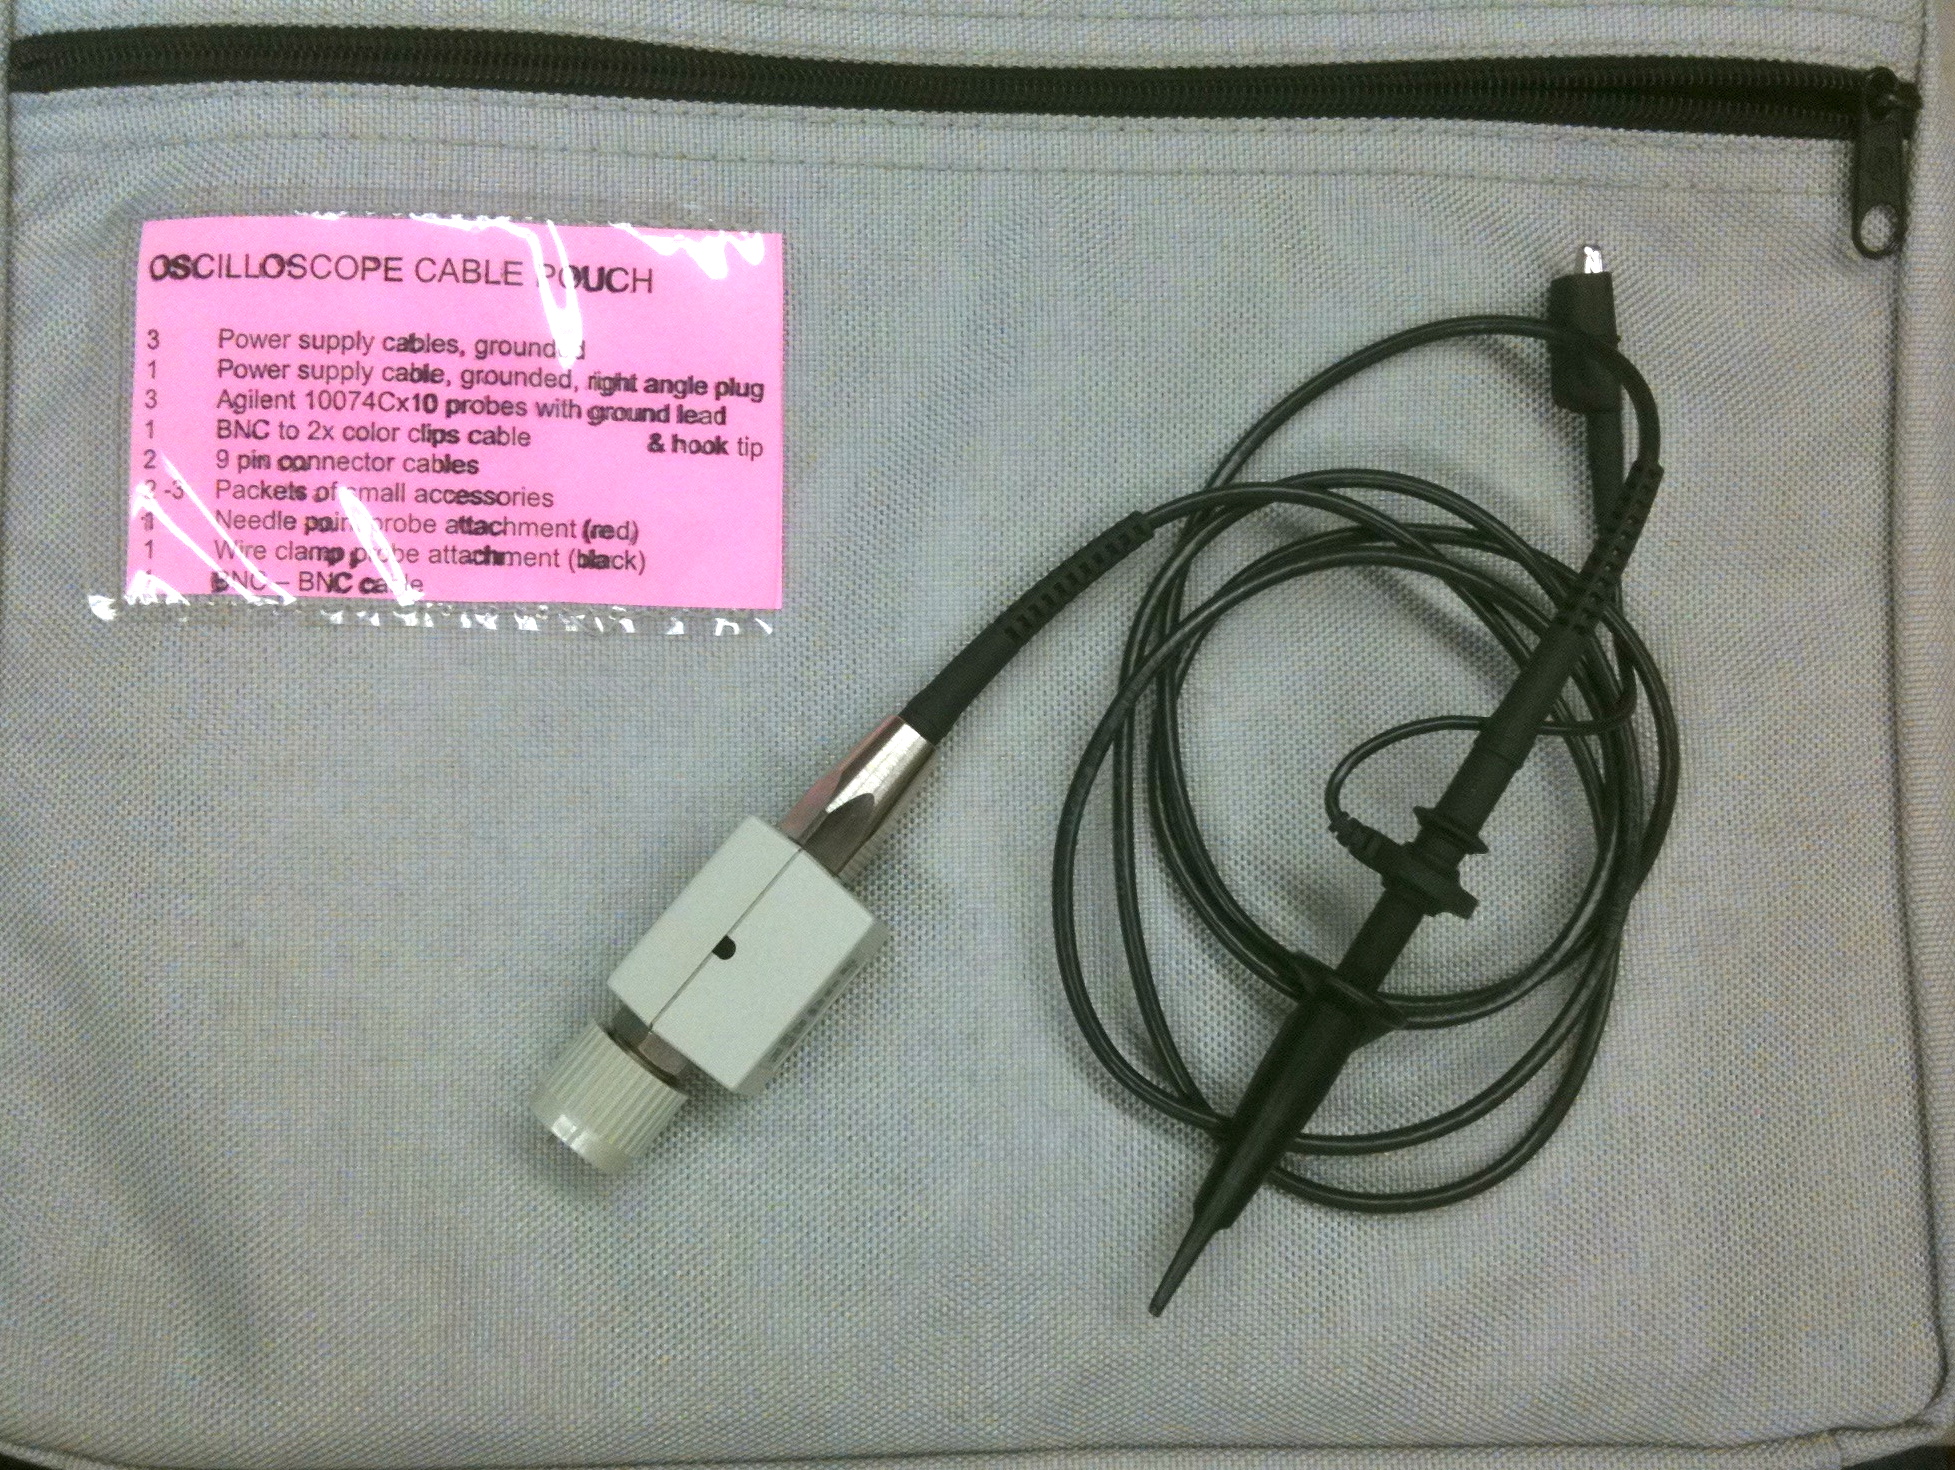
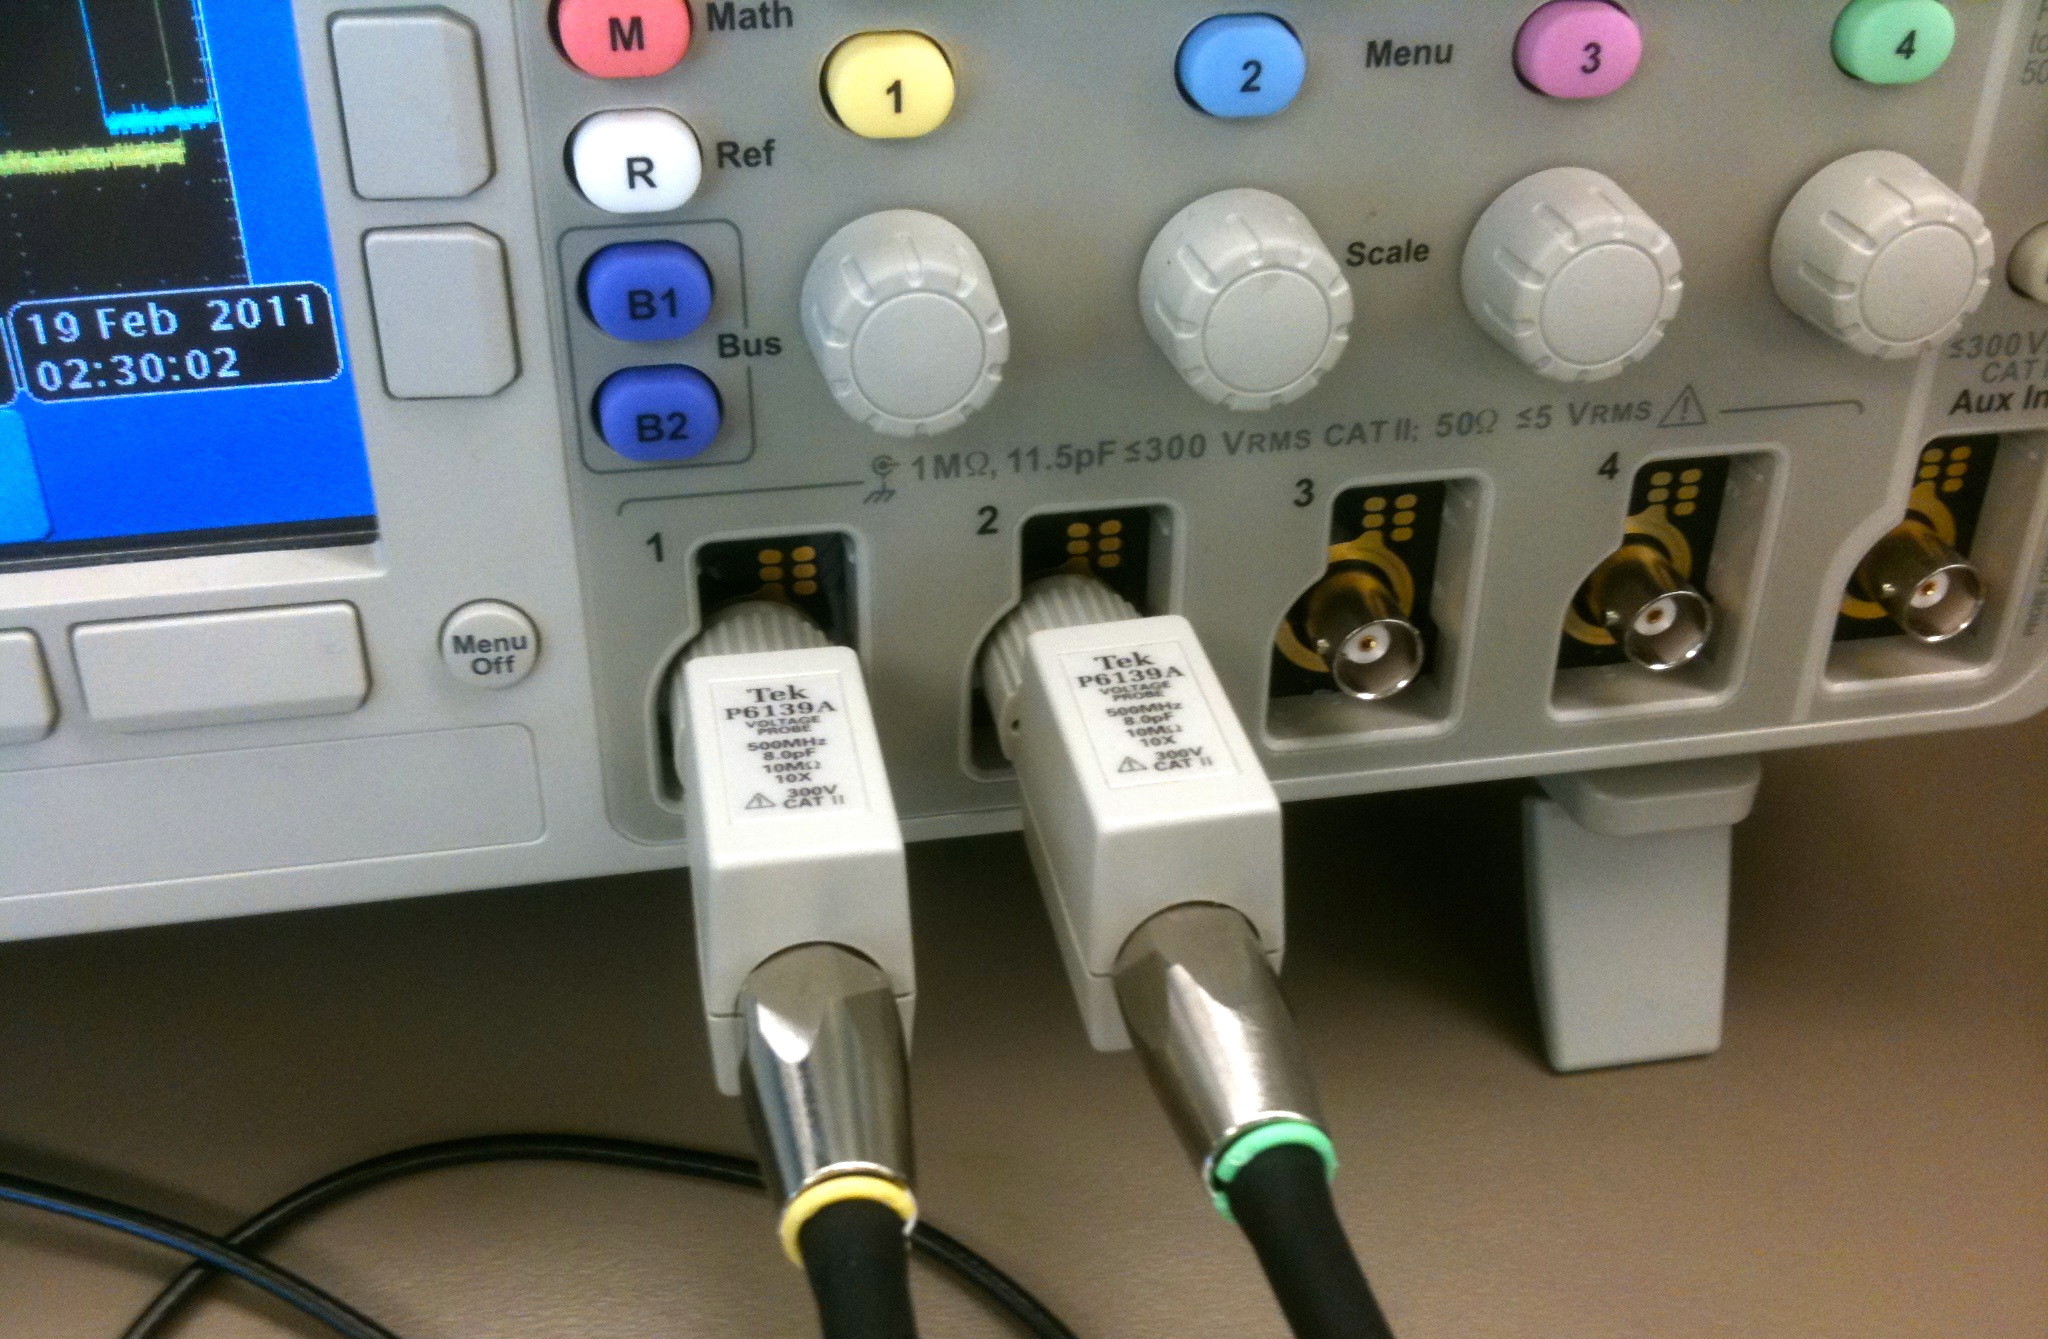
- Don't forget to connect your scope's AC cord!
Capturing one waveform
- Turn on the scope (bottom left button on face).
- Turn on the board (make sure the battery is fully engaged in its connector).
- Connect Probe 1 to TP 1, and ground it, i.e. connect the alligator clip to the GND connector on the board.
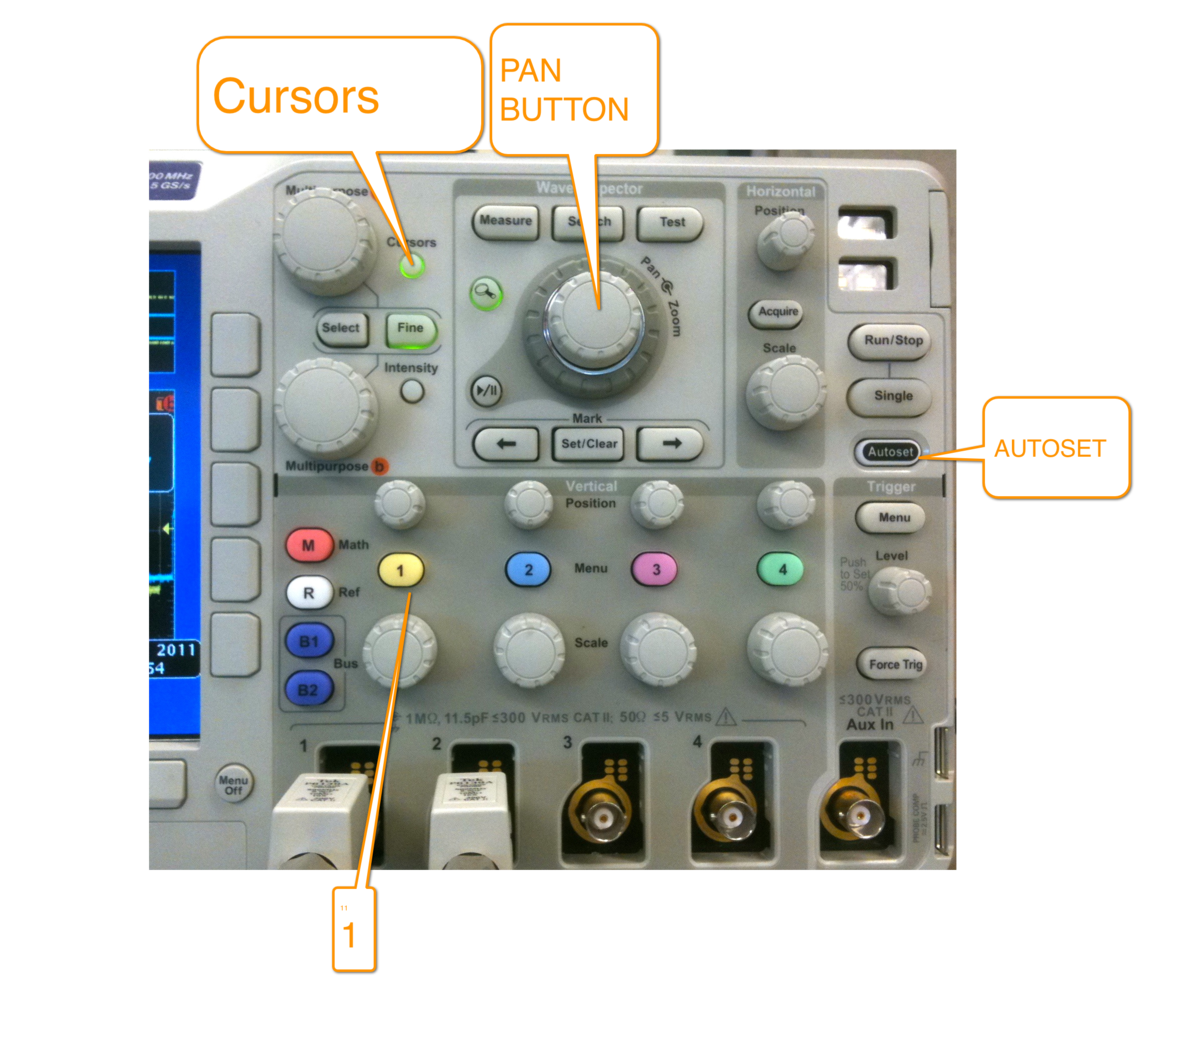
- Press AUTOSET (black button, middle right of face)
- You should get your first waveform, which is referred to as a square wave.
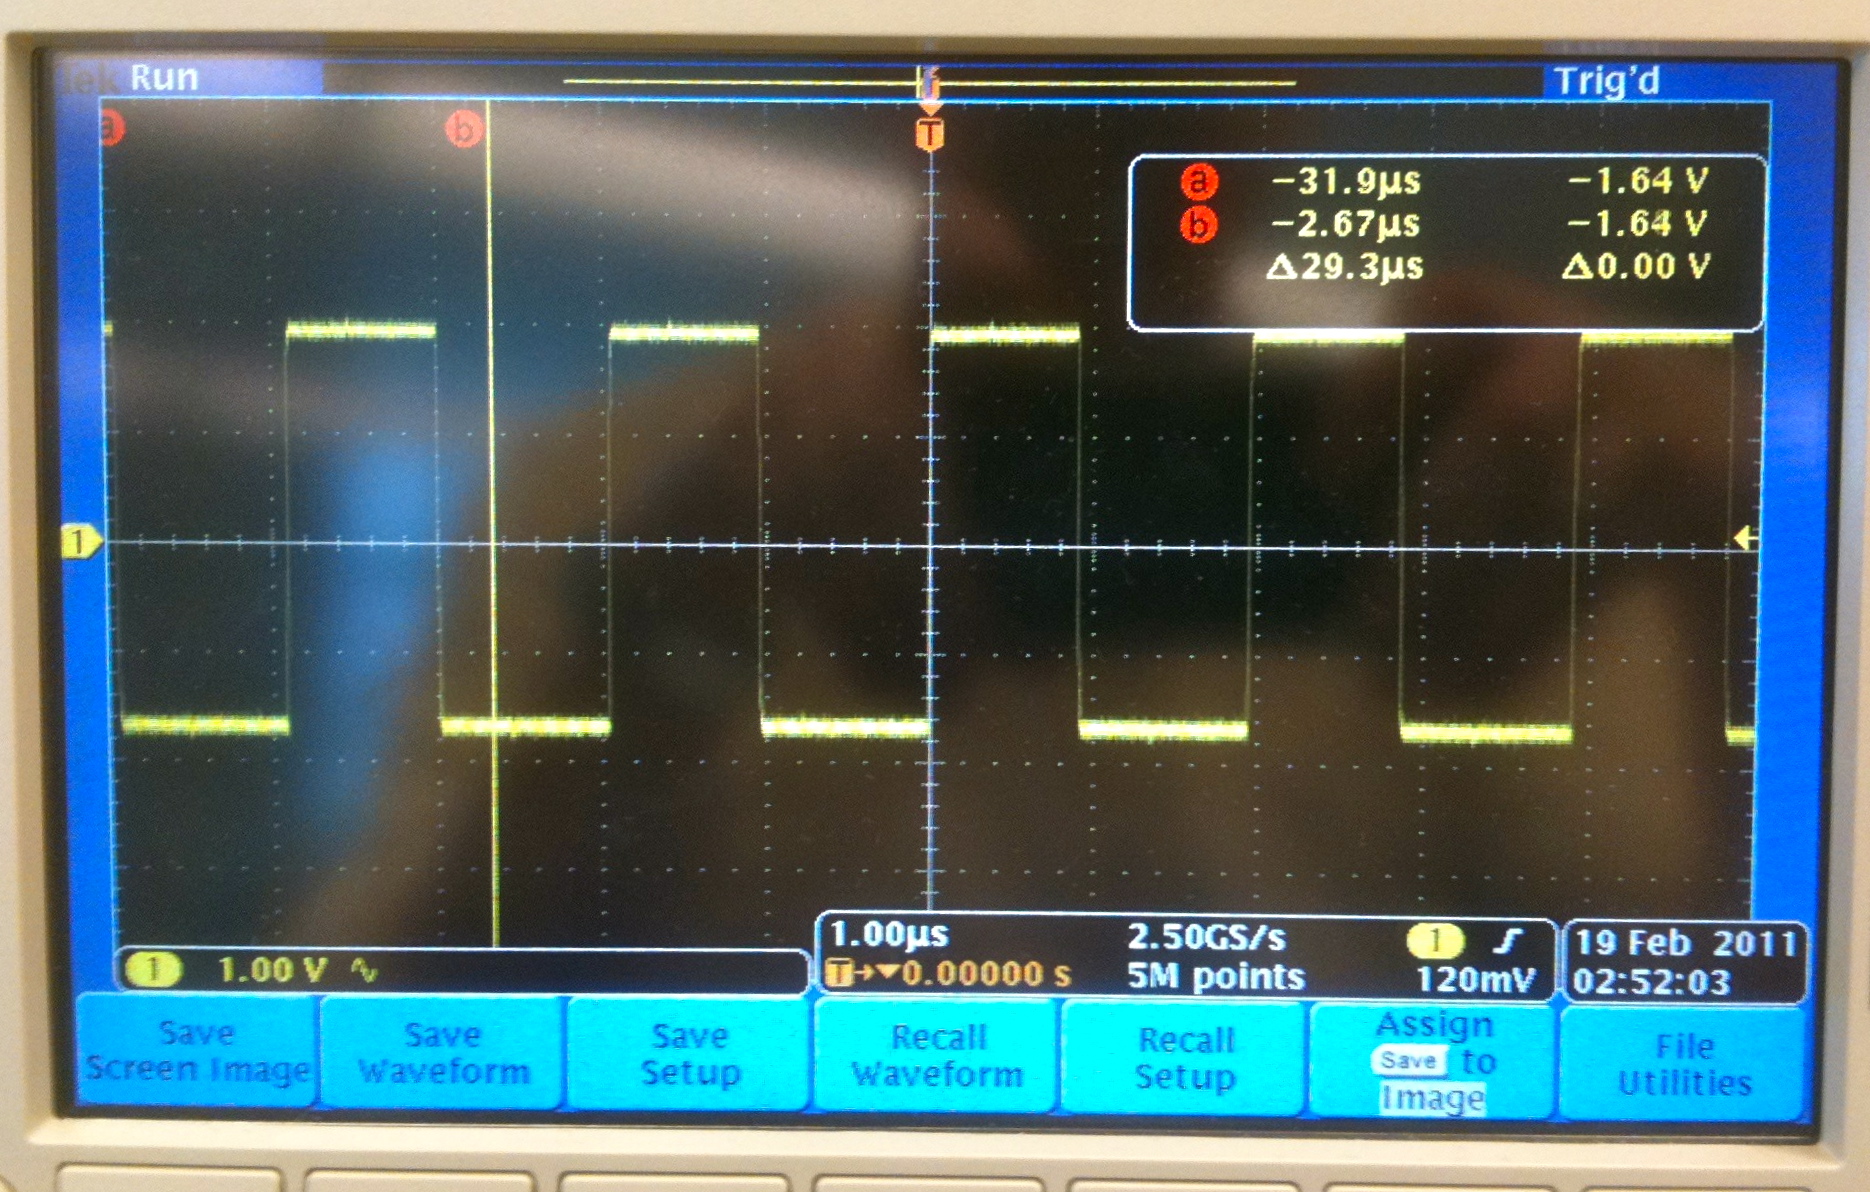
- Move the waveform up and down using the two buttons around the yellow 1 button
- Move the waveform left and right using the large pan button (top middle of the face).
- Scale the waveform and magnify or reduce it with the smaller zoom button, around the pan button.
Measuring the waveform
- The scope has two horizontal cursors you can move around, as well as two vertical cursors that allow you to measure time differences (horizontally) and voltages (vertically).
- The cursors are turned On/Off by the small Cursors button (top left of the face).
- Question
- What is the length of one period?
Time Measurements
- Move the 2 vertical cursors to measure a full period of the signal. Report the time you measure.
- Click on Measure (center top), which will bring in a menu at the bottom of the screen.
- Click on Configure Cursors and set the cursor mode to display Hz instead of seconds. Click on Configure Cursors one more time to remove the menus from the screen.
- Question
- What is the frequency of the signal you have captured?
Voltage Measurements
- Click on Cursors another time to control both horizontal and vertical cursors
- Use the Select button to switch between horizontal and vertical cursors
- Use the Multipurpose a and Multipurpose b buttons to move the cursors.
- Question
- What is the amplitude of the waveform in Volts?
- Question
- Why, do you think, isn't it 5 Volts, since the power supply of TTL circuits (e.g. 74LS00) is 5 Volts?
Capturing 2 Waveforms
- Connect Probe 2 to Test Point 3
- Autoset
- Press on 2 to bring Waveform 2 on the screen.
- Notice that Waveform 1 (yellow) appears very clearly, but Waveform 2 does not.
- This is because Waveform 1 is faster than Waveform 2, and the scope by default synchronizes itself to the signal on Probe 1.
Option 1 for Getting Stable Images of Waveforms
- To get a better picture of what is going on, we need to take snapshots of the waveforms with the single button, while playing with the Scale button.
- Go ahead, change the scale a bit and press Single. Repeat a few times until you feel you have captured the repeating nature of both waveforms.
Option 2
- When watching 2 waveforms and noticing that one is not stable and overlaps with itself, it is very likely that this second one is slower than the first, and should be the one used by the scope to trigger on.
- In this case, press the Trigger Menu button (bottom right).
- A menu appears at the bottom of the screen.
- Click on Source and select 2 as the trigger source.
- The waveforms should display much better now
- Play with the Scale and Position buttons to observe the repeating nature of the waveforms.
- Question
- What is the frequency of Waveform 2 (in blue)?
Exercises
Practice!
- Get proficient at using the scope and redo the experiments above with two new waveforms: Waveforms 2 and 5.
- In particular, learn how to quickly
- measure the frequency
- measure the time difference between two points
- synchronize the two waveforms, so that you have a clear image of both, without overlapping parts
- capture the image to your USB stick.
Discover!
- Figure out how to save a waveform to your USB stick!