IBook Author: Creating a simple animation with Hype
--D. Thiebaut 14:48, 23 January 2013 (EST)
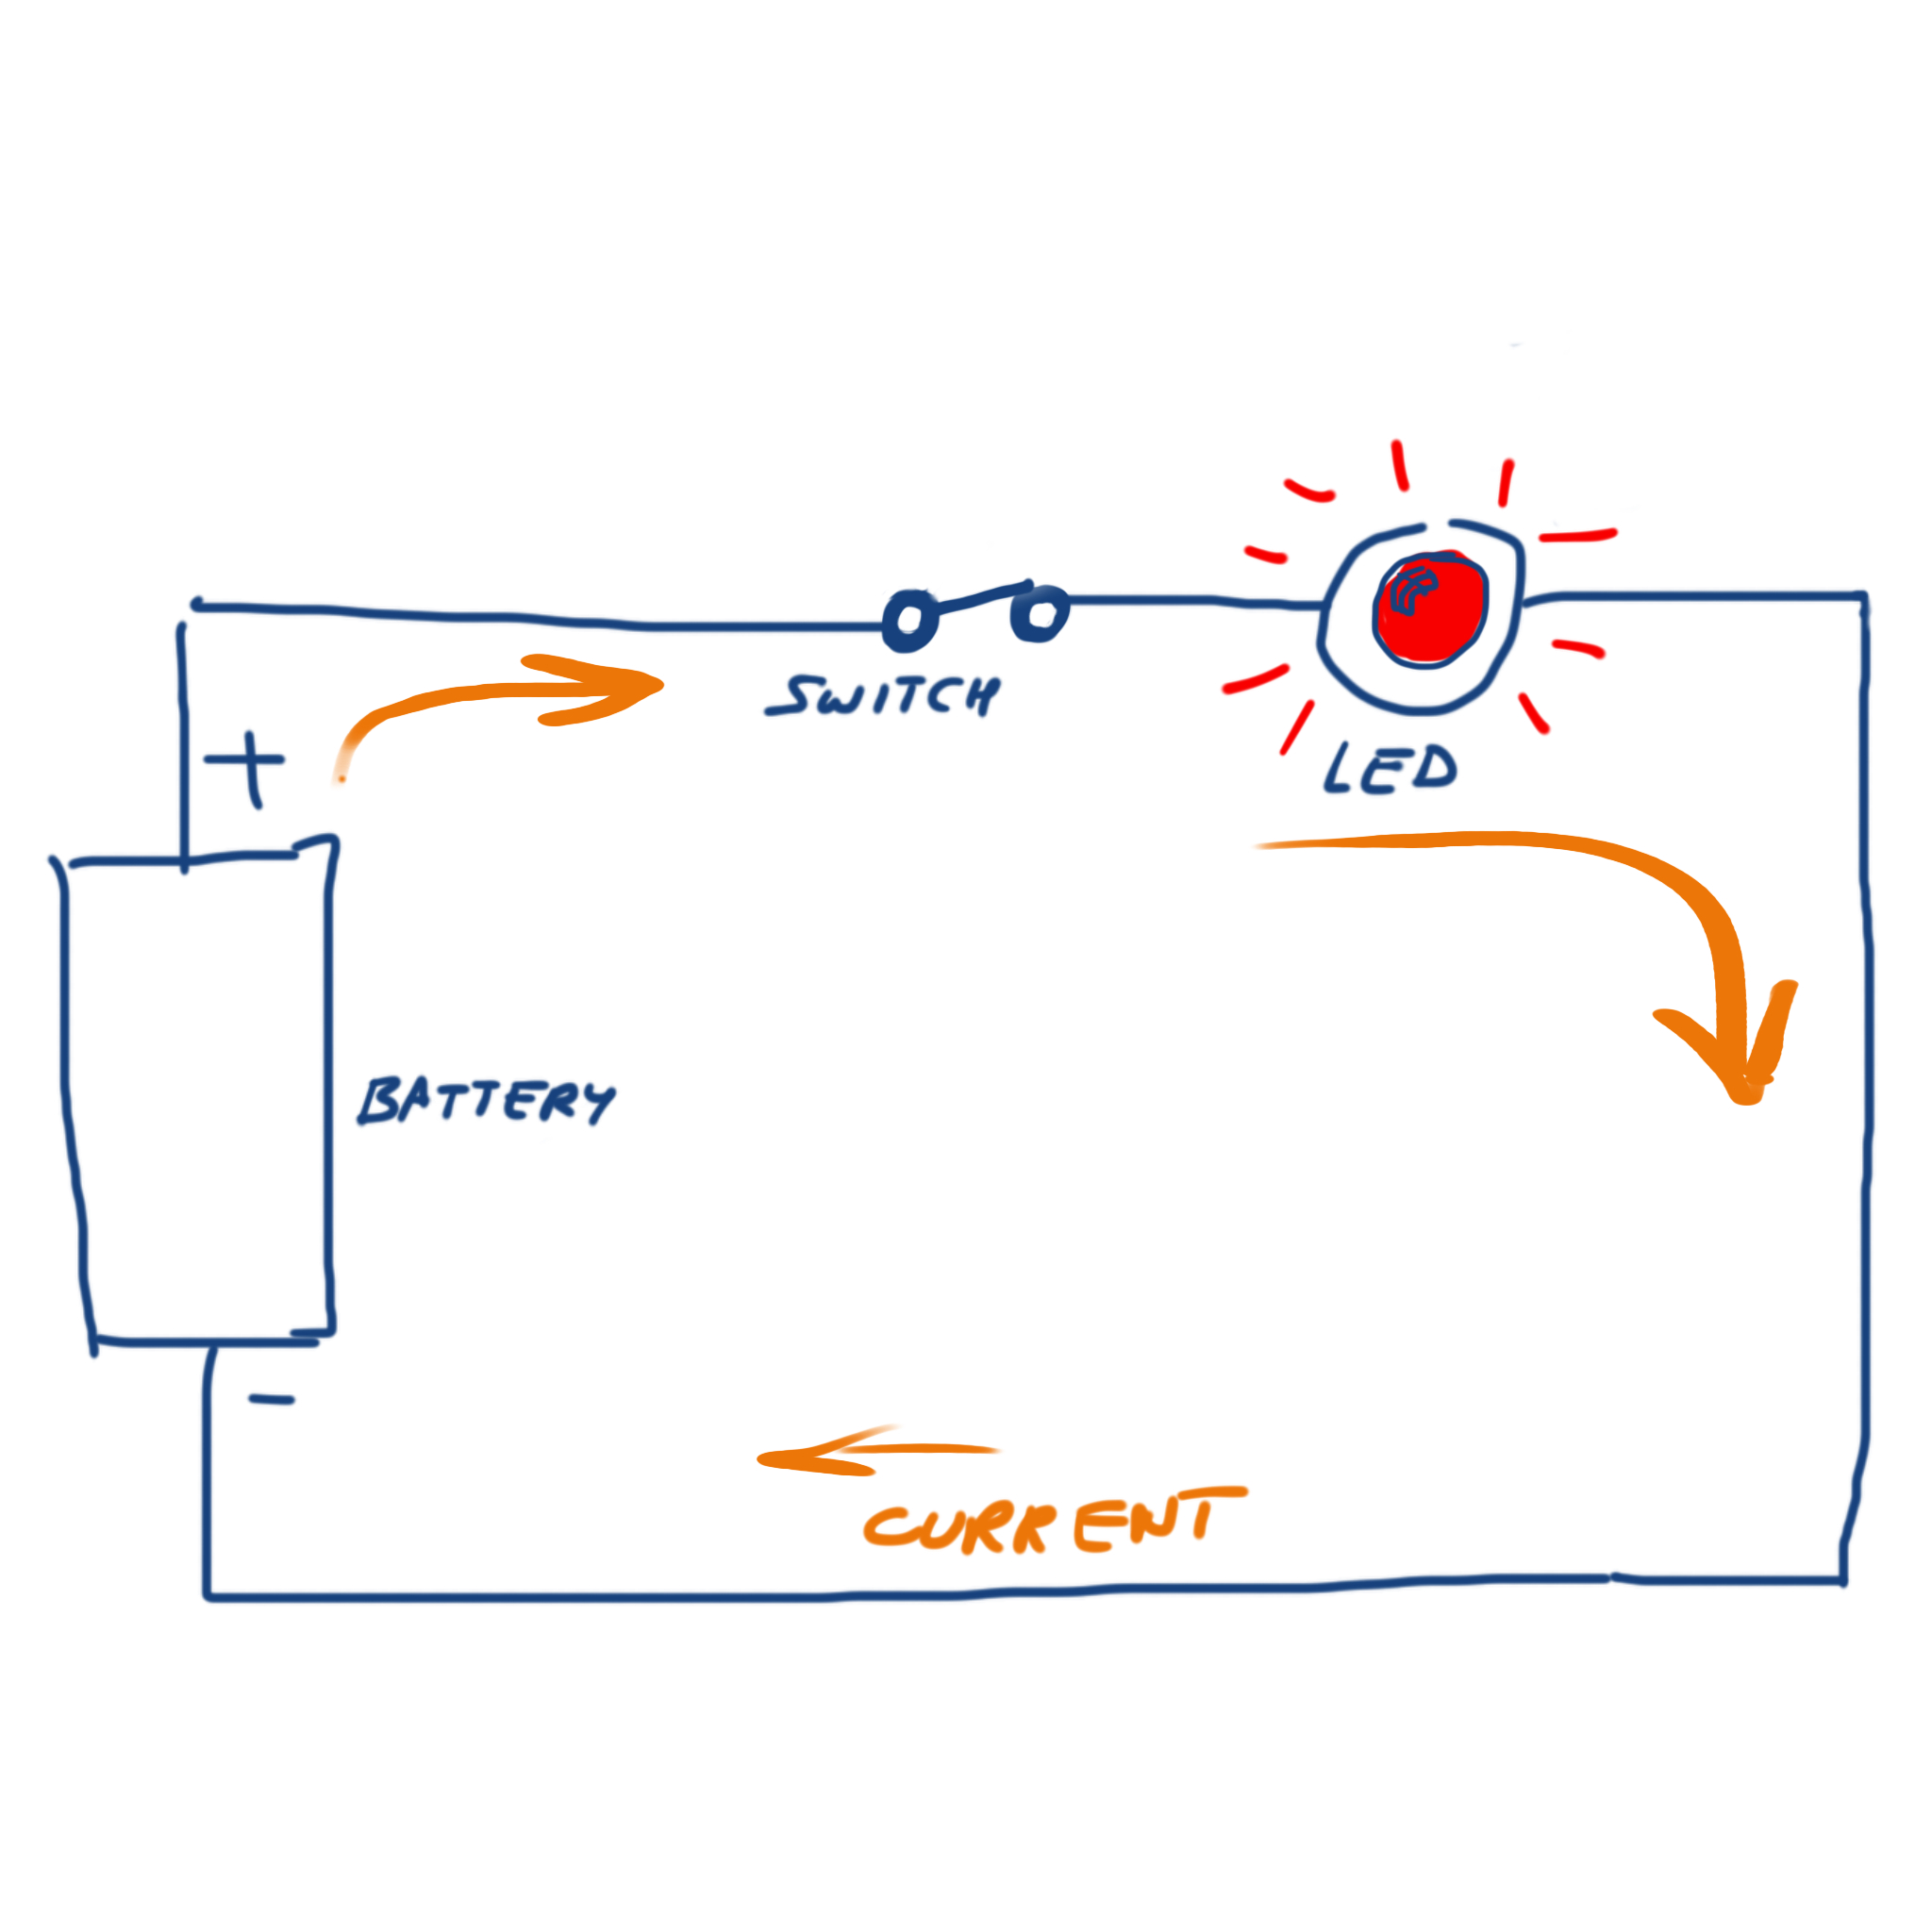
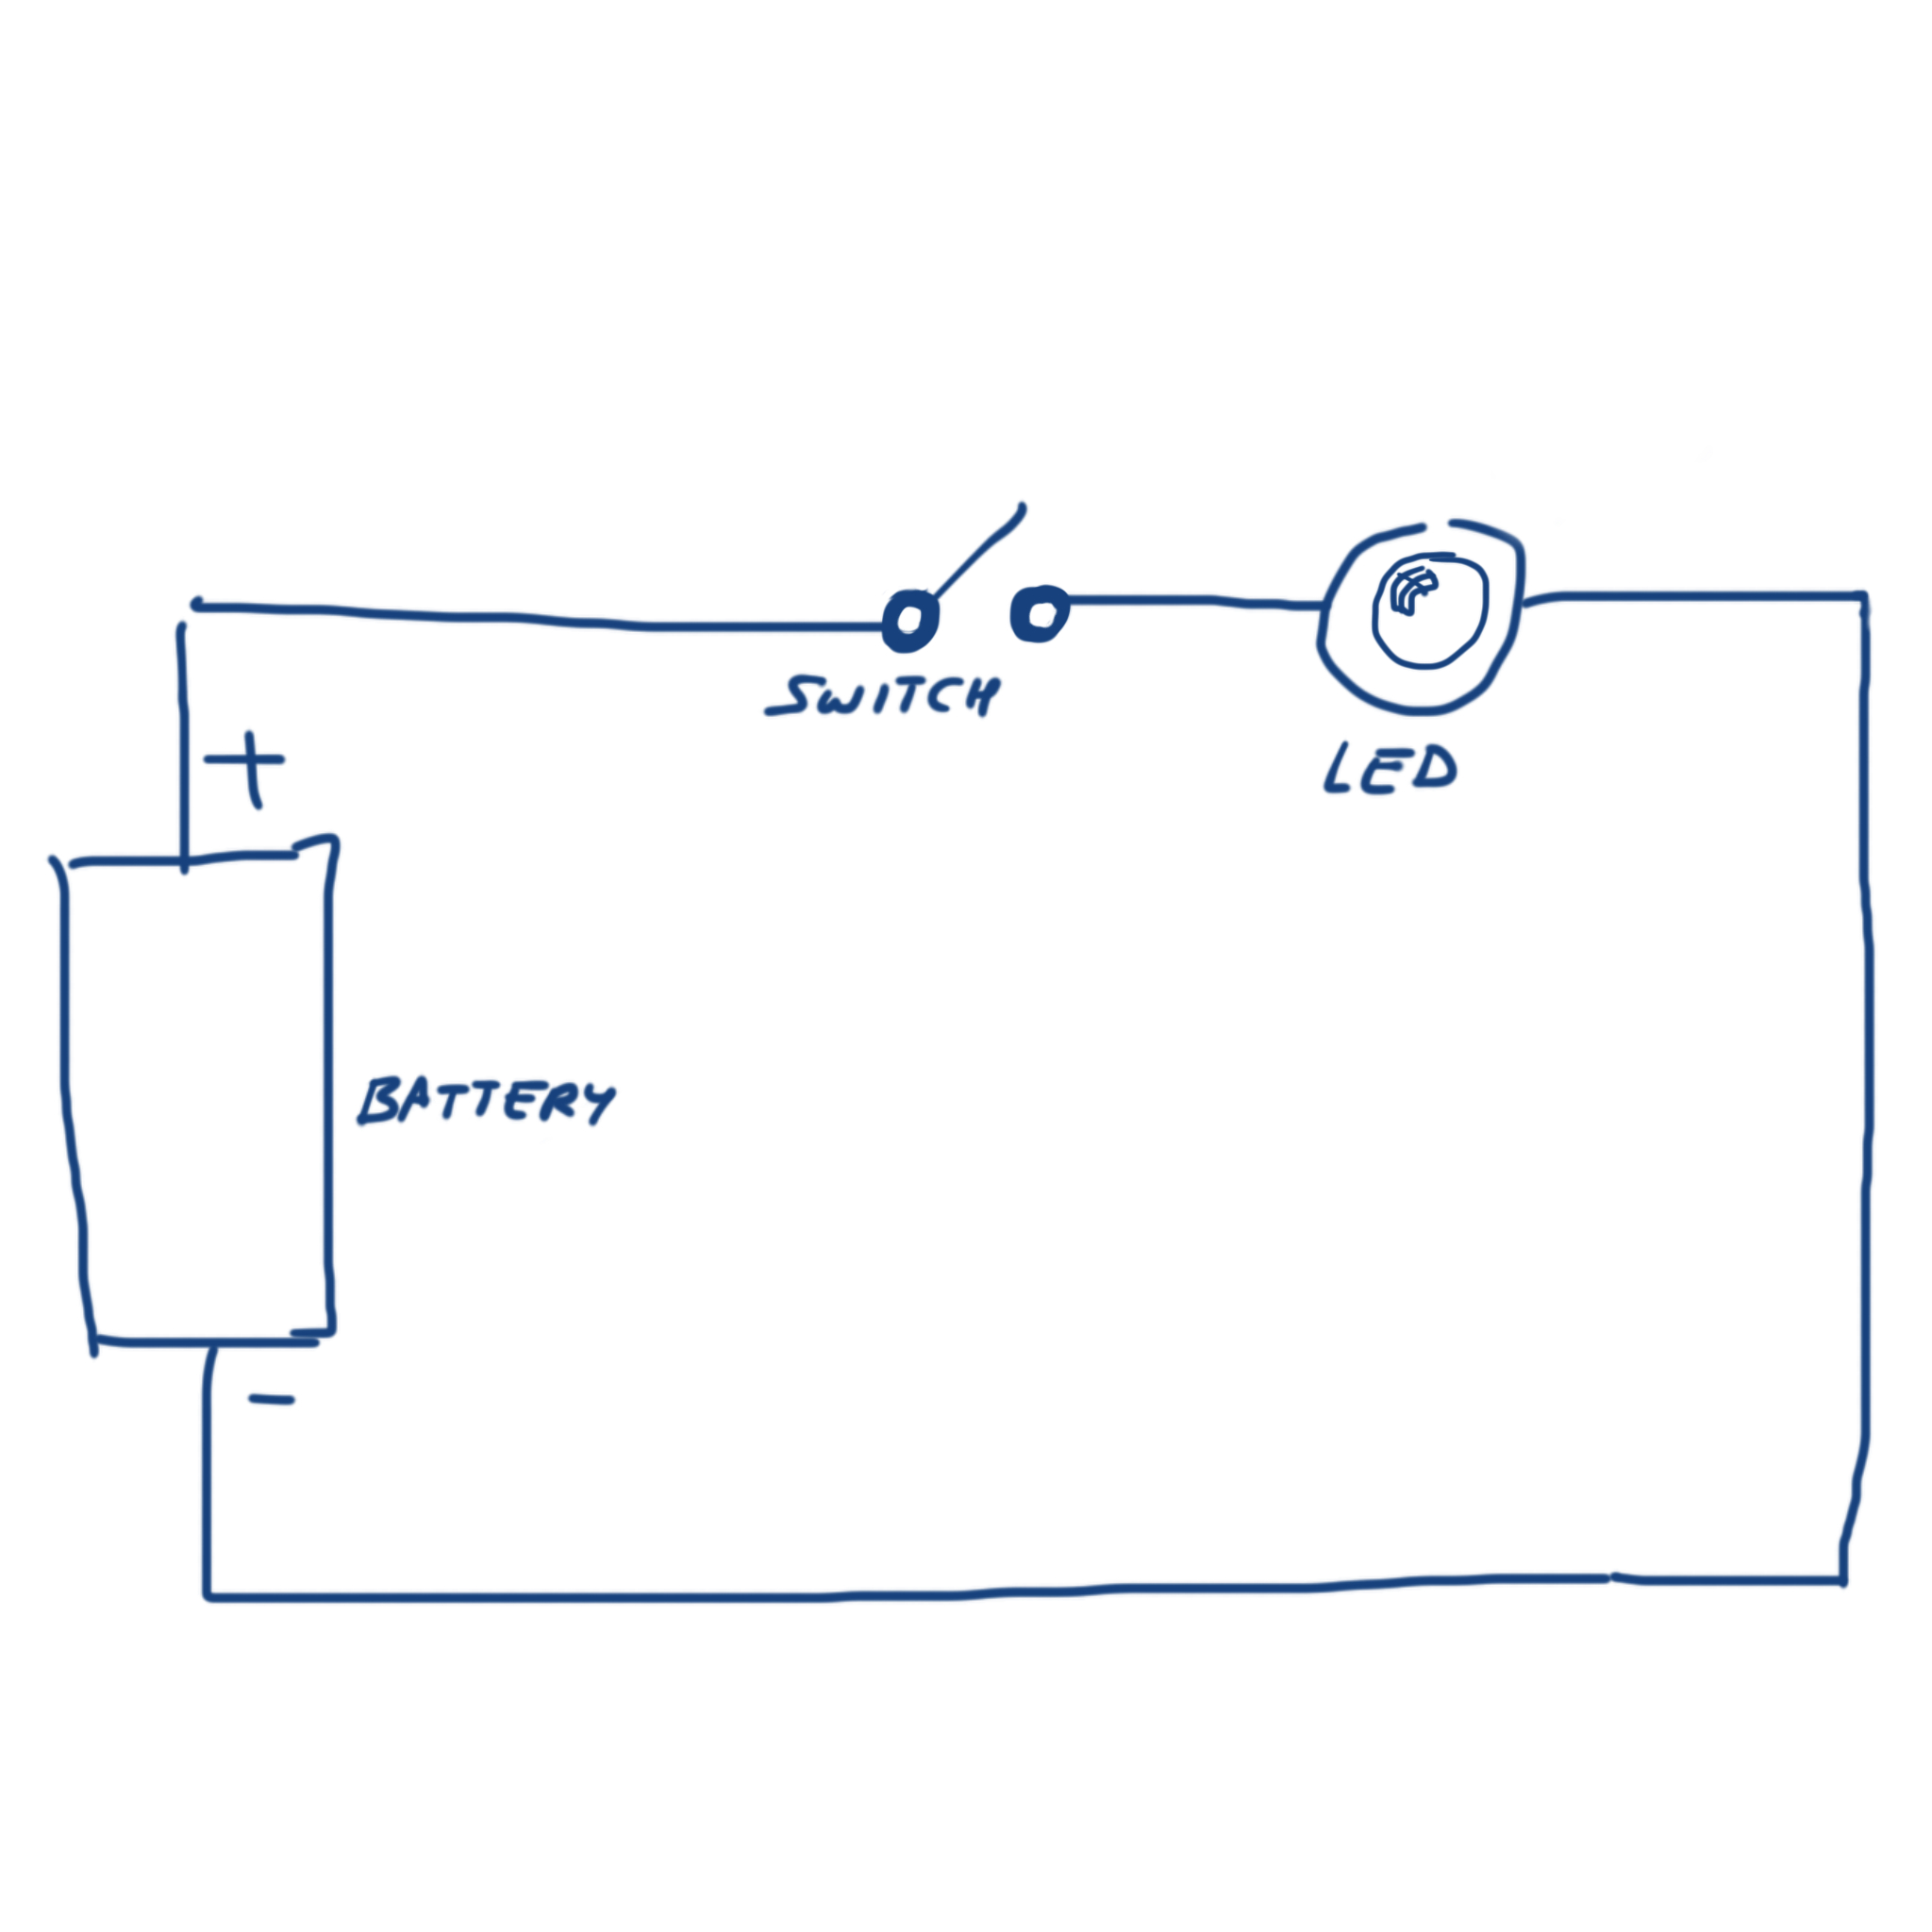
This Tutorial illustrates how to create a simple HTML5 animation with 2 images and two buttons. When a button is clicked the other images appears on top of the previous one. The button as well is replaced by a different button. The video below illustrates the concept.
Contents
Two Different Images
Start by generating two different images. The two shown below were generated with the Procreate app for the iPad.
|
|
Create the animation with Hype
- Open Hype and create a New project (File/New)
- Import the first image in the design area. Center it in the middle using the guide lines.
- Click on Insert Elements... in the top menu of the window, pick Button and locate button in the place of your choice. Change its name to "Close Switch".
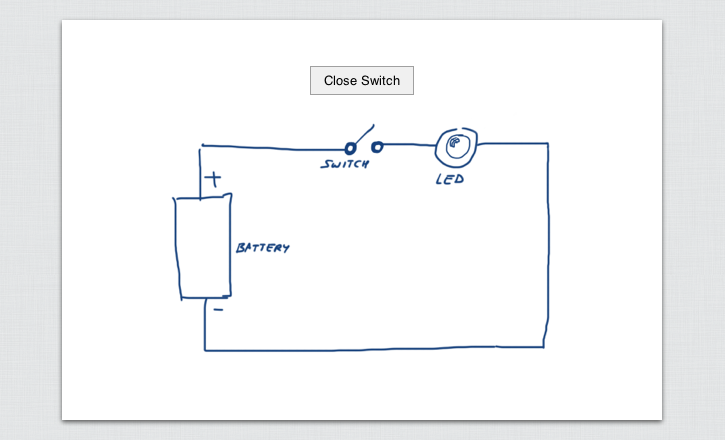
- Click on the Show Scenes button and create a new scene. Import the second image in the new scene as you just did for the first image. Also create a button while you're there, an set its label to Open Switch.
- Go back to the first scene.
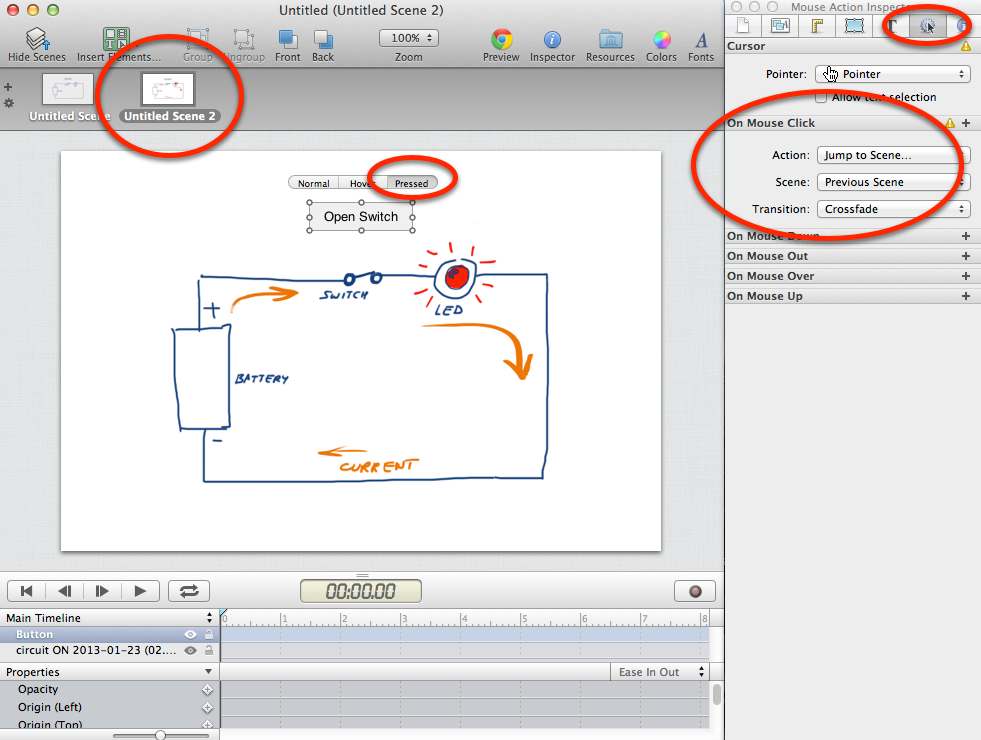
- While the button is selected (tiny circles appear around it), click on the Pressed button right above it. Switch to the Inspector Window and click on the Mouse Inspector button (2nd from the right), and click on On Mouse Click.
- Click on Jump to Scene as the action to perform, and for the scene pick Next or Previous depending on which scene you are currently editing. Do the same for the other button.
- If you performed these edits correctly, the button on the first scene will take the viewer to the next scene, and the button on the second scene will take the viewer back to the first scene. The figure below illustrates the important steps and information that needs to be set up.
Saving for iBook
The animation can be tested in a browser by clicking on the Preview top-menu button in the main Hype window. It will load the HTML 5 code in the browser, and it should be fully functional. If not, go back to the Hype window and check that both buttons have actions associated with the mouse click.
Once the animation works as you want, export it as HTML 5, and pick Dashboard/iBook Author Widget. Pick a folder where you will keep your iBook Author widgets.
Importing into iBook Author
- Open or create an iBook project in iBook Author and place your cursor where you want to place your new widget.
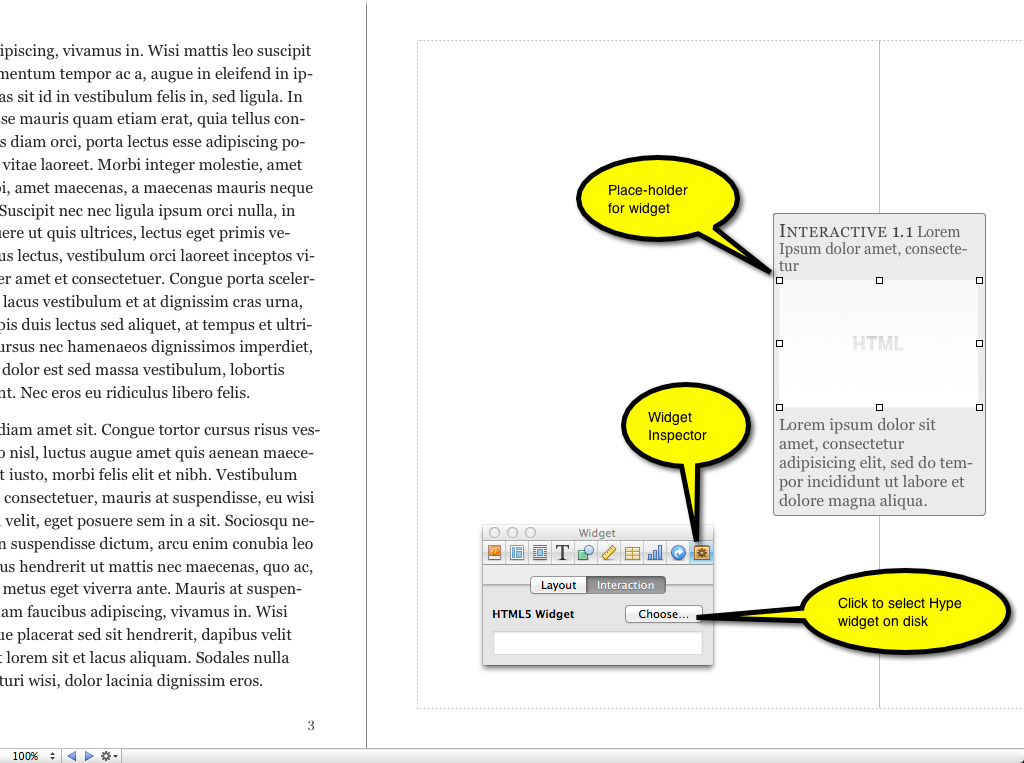
- Click on the Widgets icon in the top menu, and select HTML. This will create a place holder for your widget in the text. Leave it where it falls and in the widget window that opens up, click on the widget inspector (last icon to the right), and make sure interaction is selected.
- Click on the Choose... button and pick the widget you saved in Hype, with a .wdgt extension.
- Click on Layout in the Widget Inspector, and remove the title, caption and background to get a clean look for your widget (unless you do want them!)
