Hadoop Tutorial 3.1 -- Using Amazon's WordCount program
--D. Thiebaut 16:00, 18 April 2010 (UTC)
|
This is Part 1 of the Hadoop on AWS Tutorial. This part deals with streaming the word-count program already on AWS and apply it to the Ulysses.txt text. |
Processing Ulysses on Amazon's Elastic MapReduce: Using Amazon's WordCount
Now that you have your data in your S3 storage, we'll use Amazon's copy of the WordCount program and run it. This is also described in an amazon tutorial on their developer network.
The program is in Python, and contains only the Map section of the Map-Reduce program. The Reduce part is a standard aggregate section that is predefined.
The Python code is shown below:
.

#!/usr/bin/python

   import sys
   import re

   def main(argv):
     line = sys.stdin.readline()
     pattern = re.compile("[a-zA-Z][a-zA-Z0-9]*")
     try:
       while line:
         for word in  pattern.findall(line):
           print  "LongValueSum:" + word.lower() + "\t" + "1"
         line =  sys.stdin.readline()
     except "end of file":
       return None
   if __name__ == "__main__":
     main(sys.argv)

.
- and it is stored on S3 at the following location: s3://elasticmapreduce/samples/wordcount/wordSplit
Create a New Job Flow
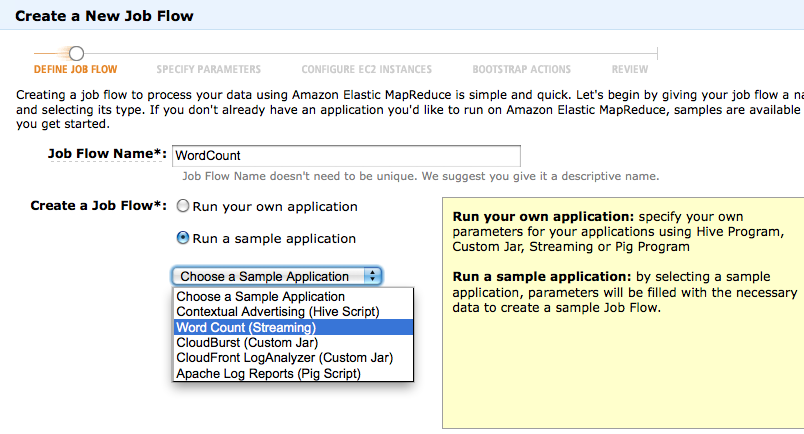
- First, go to the AWS Management Console and open the tab Amazon Elastic MapReduce tab.
- Create a New Job Flow.
- Call it WordCount
- Select Run a Sample Application
- Pick Word Count (Streaming) (Streaming refers to the fact that the program is not in Java, and its input/output will be streamed in and out to the Map-Reduce framework.
- Click Continue
- Specify the parameters as follows:
- Input Location: s3://352-xxxxxx/data/ (replace xxxxxx by the name you selected)
- Output Location: s3://352-xxxxxx/output/ (replace xxxxxx by the name you selected)
- Mapper: keep default provided
- Reducer: keep default provided
- Extra Args: leave it blank
- Click Continue

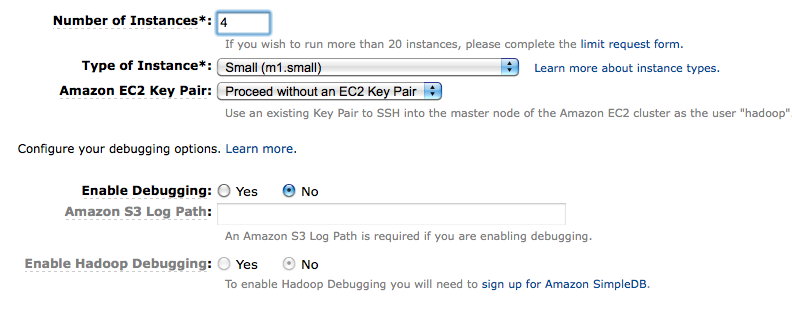
- Configure EC2 Instances, and keep the default (4 instances, Small instance, Amazon EC2 Key Pair, no debugging.
- Review, then Create Job Flow
- Close
- Refresh
- You should get a window showing your Job Flow:

- Click on the job flow line, and observe the status window appearing at the bottom of the screen:

- Then, wait...
- wait...
- wait some more... until the Job Flow completes. (in this case it took 2 minutes.)
Download the Results
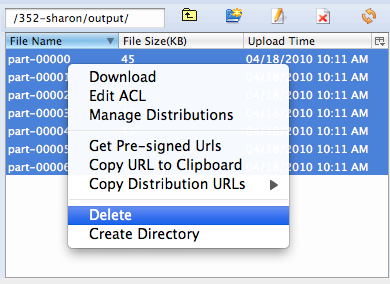
- Once the Job Flow has completed, download the part-0000? file or files from your output folder on S3 to your disk. You can then delete these files from S3 (remember that keeping them there costs money!)
- Once they are on your local machine, observe that the file(s) contain(s) an index of words.
- Congratulations, you have just run your first Hadoop/MapReduce job on Amazon!


