Hadoop Tutorial 3 -- Hadoop on Amazon AWS
--D. Thiebaut 15:59, 18 April 2010 (UTC)
Deprecated! See this new tutorial instead!
|
This tutorial illustrates how to connect to the Amazon AWS system and run a Hadoop/Map-Reduce program on this service. The first part of the tutorial deals with the wordcount program already covered in the Hadoop Tutorial 1. The second part deals with the same wordcount program, but this time we'll provide our own version. Part 3 presents a more sophisticated approach where the Java version of wordcount is compiled locally, then uploaded to S3 and run from there. |
This tutorial uses information found in several other tutorials, including
- the WordCount Example on http://developer.amazonwebservices.com
- the Amazon Elastic MapReduce Ruby Client, also on http://developer.amazonwebservices.com
Login to Amazon AWS
The following section will take you through the steps necessary to login to your Amazon Web Services (AWS) account.
- Open your AWS account on amazon by going to http://aws.amazon.com/
Click on Sign In to AWS Management Console

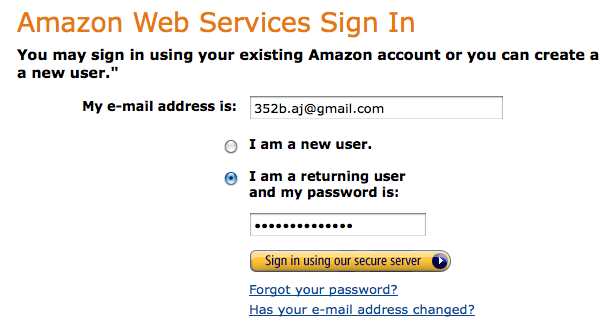
Sign in with your AWS account
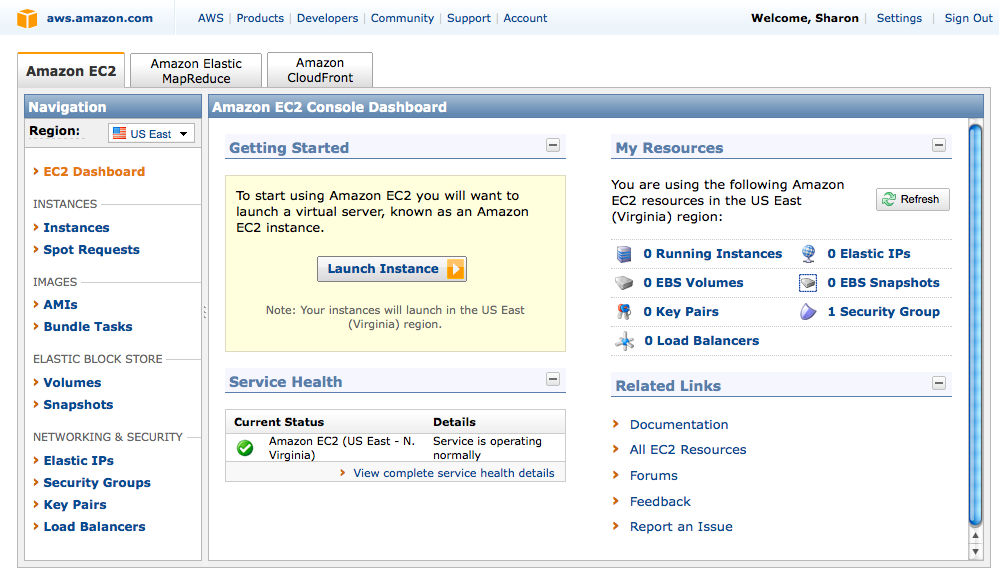
You should then be signed in
Sign-Up for EC2, S3, and MapReduce
- Go to the Products section and sign-up for all these services, using your 352b.xx credentials.
- EC2
- S3
- Elastic MapReduce
- You should see that you are already have access to the Web service when you do so. This is just to double-check.

Locate your Amazon credentials
- Go to Account/Security Credentials
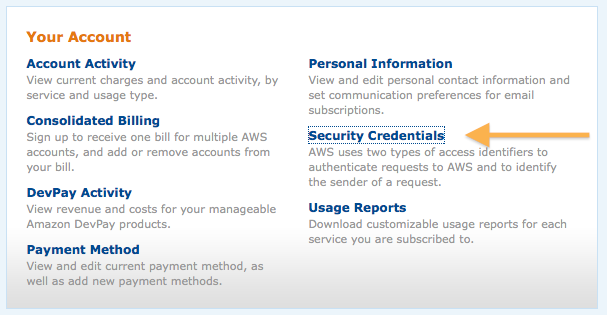
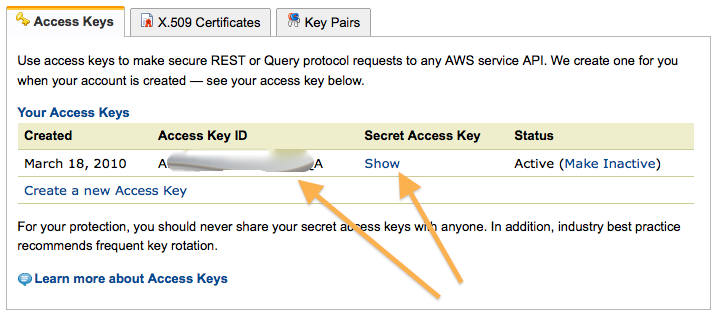
Access Key, Secret Key
- Locate your access key info, in the form of an Access key Id and a secret key. You will need them later to setup various tools.
The next step is to create a bucket in S3 and store Ulysses in it. The easiest way for this is to use Firefox and install the S3 Add-On on it.
3rd-Party Software Tools
Option 1: Firefox add-on for S3
- Download and install Firefox add-on for S3: http://www.s3fox.net/DownloadPage.aspx
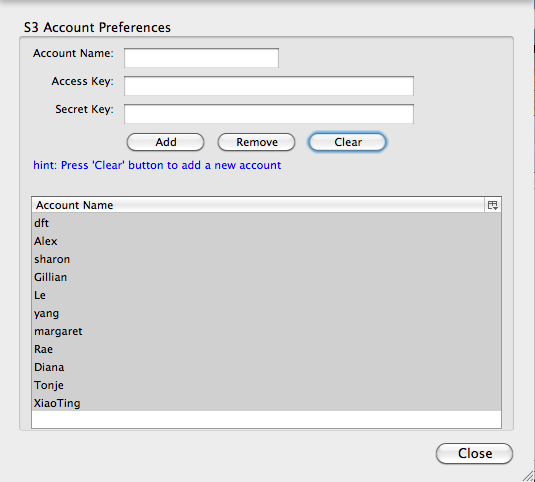
- Launch the Add-On and click on Manage Account, and then enter the information required. In Account Name enter a name based on the image below. You will need to enter the Access Key and Secret Key from above.
Option 2: Using the S3Tools
S3tools.org provides an open-source package for accessing S3 from the command line. It is a nice alternative to the Firefox Add-on especially if one is interested in automating file upload, download, or removal using shell script.
- Download the S3Tools from s3tools.org and follow the directions for installation from the Web site.
- Once installed, configure it from the command line:
 s3cmd --configure

Enter new values or accept defaults in brackets with Enter.
Refer to user manual for detailed description of all options.

Access key and Secret key are your identifiers for Amazon S3
Access Key: XXXXXXXXXXXXXXXXXXXX          (enter your access key here)
Secret Key: SSSSSSSSSSSSSSSSSSSSSSSSSSSSSS        (enter your secret key here)

Encryption password is used to protect your files from reading
by unauthorized persons while in transfer to S3
Encryption password: PPPPPPPPPPP                 (enter a password of your choice here)
Path to GPG program [/opt/local/bin/gpg]:

When using secure HTTPS protocol all communication with Amazon S3
servers is protected from 3rd party eavesdropping. This method is
slower than plain HTTP and can't be used if you're behind a proxy
Use HTTPS protocol [No]:

On some networks all internet access must go through a HTTP proxy.
Try setting it here if you can't conect to S3 directly
HTTP Proxy server name:

New settings:
 Access Key: XXXXXXXXXXXXXXXXXXXX
 Secret Key: SSSSSSSSSSSSSSSSSSSSSSSSSSSSSS
 Encryption password: PPPPPPPPPPP
 Path to GPG program: /opt/local/bin/gpg
 Use HTTPS protocol: False
 HTTP Proxy server name:
 HTTP Proxy server port: 0

Test access with supplied credentials? [Y/n]
Please wait...
Success. Your access key and secret key worked fine :-)

Now verifying that encryption works...
Success. Encryption and decryption worked fine :-)

Save settings? [y/N] y
Configuration saved to '/dddd/uuuuu/.s3cfg'
- Create a new bucket
s3cmd mb s3://352-abc
- Upload a new file to your bucket
s3cmd put ulysses.txt s3://352-abc/ulysses.txt
- List the files in your bucket
 s3cmd ls s3://352-abc/
 2010-04-26 16:06    12345   s3//352-abc/ulysses.txt
- You can get more information on the s3cmd syntax and how to use it at http://s3tools.org/s3cmd.
Upload Ulysses to Amazon S3
In this section we will use the Firefox S3 Add-On.
- If you do not have Ulysses handy, download it from gutenberg.org:
wget http://www.gutenberg.org/files/4300/4300.zip
unzip 4300.zip
rm 4300.zip
cat 4300.txt | head -50
- Make sure your S3 Firefox GUI Add-On is open.
- Create a new folder (Amazon calls it a bucket) in your S3 space. This has to be a unique name, in a shared space (all AWS users share this space). Make it a unique name, something like 352-dft, or 352-sharon should work.
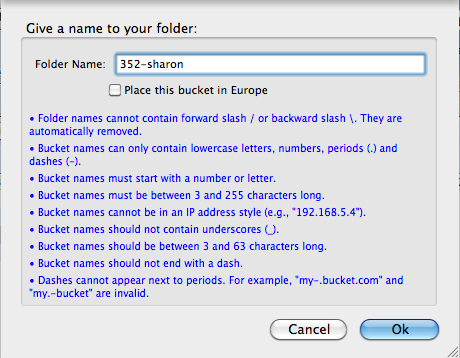
- Create three new sub-folders in your new folder:
- data
- output
- logs
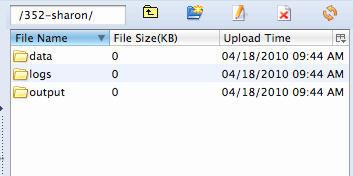
- In the left window, locate your text version of Ulysses and upload it to your new data folder on S3.

Counting word frequency different ways
We will process Ulysses using different approaches, going from the simplest to the most sophisticated.
- Part 1 : we'll use Amazon's own wordSplit program to process Ulysses.
- Part 2 : Next we create our own version of the WordSplit program in Python and upload it to S3.
- Part 3: In this tutorial we create our Java version of WordCount, compile it, upload it to S3, and run it there.
How Much Have I spent?
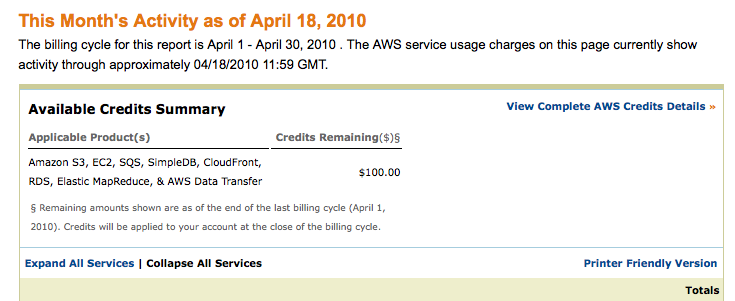
- Please regularly check your credit with Amazon, which generously granted each student $100 of access time to their AWS services.
- To do so:
- Connect to AWS Management Console
- Select Account
- Select Account Activity
- Look up the available credit:
